Category Archives: Uncategorized

Fort Point

_DSC9648_49_50_51_52-Edit

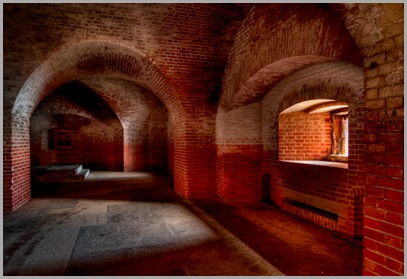
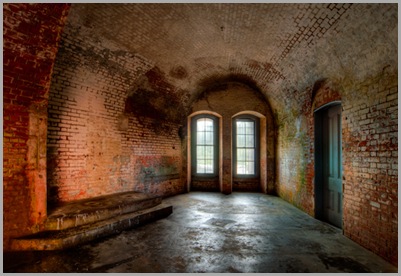
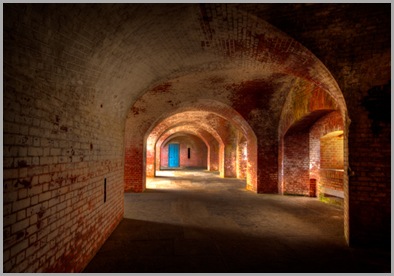
Now and then a place you had no expectations of surprises you. Such was the case with Fort Point in San Francisco. Having visited Alcatraz and the Palace of Fine Arts earlier in the day, I had already been presented with great subject material. But nothing inspired me as much as Fort Point. This Civil War era structure contained unexpected beauty in light and form. Other photographers appeared to appreciate its beauty as  well. Wedding and engagement photos were being shot the whole time I was there. I appeared to be the only one shooting HDR images of the fort itself. I have included a couple of my favorites from the day.

_DSC9709And8more-Edit-Edit

As with any image or any subject, it is still the light that makes or breaks the image and the light streaming through the windows and arches make this place a photographer’s paradise.

_DSC9660_1_2_3_4_5-Edit

Blog Images:

  1. This was the first thing that grabbed my attention as I stepped onto the 3rd floor. Created from 5 1-fstop exposures. Processed with Photomatix 4.0 with Nik Color Efx Pro Color Contrast Filter plus local adjustments using Viveza.
  2. Just before I shot this image a bride and groom were posed to the left of these windows. What a great setting. 9 1-fstop exposures. Processed same as 1.
  3. I usually look for red doors, but a blue one surrounded by orange brick pops just as well. 5 1-fstop exposures. Processed same as 1.
Also posted in HDR Photography

Tripods – Who needs them?

_DSC9000-Edit

If you have been capturing nature or landscape photography for any period of time, I am sure you have encountered the admonition to use a tripod. Generally the arguments for using a tripod are:

  1. It slows you down and makes you think about the composition and framing (what you include in the frame) more carefully.
  2. You will get sharper and more stable images (no hand shake, etc.)

While both of these statments are true, I would like to come at it from a little different perspective. You probably paid a few $$$ for a nice camera and lenses. If you really want to be able to fully use what you paid for, you need a tripod (more $$$). Why do I say that?  Do you…

  1. Want to really use the full range of f-stops on your camera as your personal vision requires? You need a tripod. If you want a nice bokeh in the background but want the tip of the stamen of the flower in sharp focus, you need a tripod so you can get that focus dead on. Or maybe you want everything sharp from front to back when the sun is not full and bright -you need a tripod so you can go to f16+ and not get blur due to shake.
  2. Want to use those slower shutter speeds to maximum advantage? You need a tripod. Do you like the look of a still calm ocean or a soft flowing waterfall? Then you need a tripod to let you shoot those long exposures.
  3. Want to get the crisp sharp images your expensive telephoto can provide? You need a tripod. Even with image stabilization you are typically limited on the shutter speed/f-stop combination you can use without some loss of sharpness. The more you zoom in, the more you need that tripod.
  4. Want to create images with a wide dynamic range? You need a tripod. If you want to participate in the world of HDR photography, you really need a tripod to make sure all those multiple exposure shots are perfectly aligned. While software can help a lot with the alignment, it isn’t perfect and the edges may not be clean as you enlarge the image.

But maybe you say a tripod cramps your style. To that I would say two things. One, not being able to fully use your camera’s capabilities should be cramping your style. Two, take that camera off the tripod when you are deciding how to compose the image. Walk all around, move in, move out, up and down. Once you find the shot, set up the tripod and capture the image.

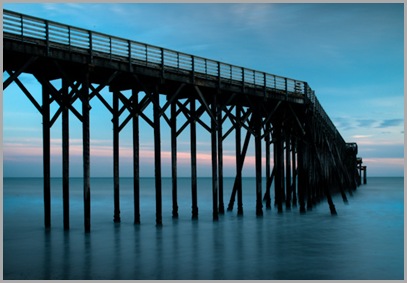
Blog image: This shot of a pier in the ocean required a very long exposure, 20 sec, plus great depth of field, f22. Something you just can’t do without something like a tripod.

Exploring Where You Are

_DSC8794-Edit

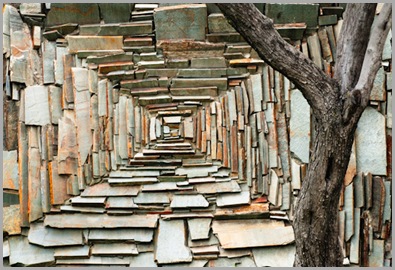
With my temporary relocation to California, I ended up in the heart of Silicon Valley. An area covered with hundreds of buildings and myriads of industrial parks. While I used weekends to explore areas outside of the valley, I also captured images within.

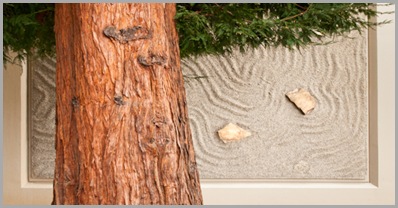
One of the first things I noticed in my immediate surroundings were all the various textures and stone work on many of the buildings. There was also a wide variety of trees around the buildings (some not native to the NW). As a result I started collecting images of the unique textures and those textures juxtaposed with the trees. Will this become a new body of work in time? Maybe.

_DSC8812-Edit

Challenge yourself to see the common threads in the area you live. What characteristics make your area unique?  – ones that identify where you are. Look at the flora, trees, buildings, homes, sky, land, industry, etc. This is typically easier when you first arrive in a new area so it will take some effort to put on new eyes where you live. Is there a body of work you could create or put together unique to your area?

Another Day Another Pier

_DSC9004-Edit-4

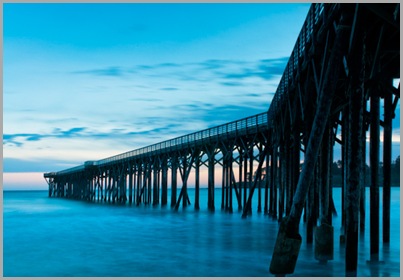
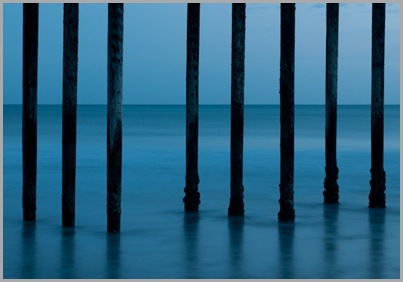
It often seems to be the case when you are at the ocean that a cloud layer comes in from the west just before sunset. That was the case when I went out to shoot near Cambria, California. An hour before sunset the clouds rolled in and there went the nice warm glow on the cliffs. Instead of hanging it up, I decided to drive back to a pier I had seen earlier. A nice pier jutting off into the ocean near Harmony, CA. I wanted to work more with long exposures (5+ sec) that night and the waves breaking at the base of the pier would work nicely.

As always, when working a subject, you should try different compositions, framing options – vertical and horizontal, abstract parts of the subject, visualize different post processing, etc. I have included just a couple of the images here from that evening shoot.

The first image is a 30 sec exposure which is what gives the water such a mysterious look – large waves really add to this effect. The blue water and sky add to the very soothing yet mysterious image where the pier draws you in.

_DSC9017-Edit

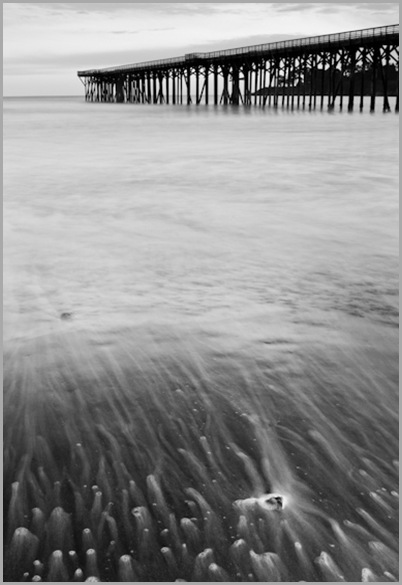
The second image exposure time is less than that of the first, only about 8 seconds. It was timed so that the wave was receding into the ocean, creating lead in lines using the trails from the stones. There was one larger stone that I carefully placed in the frame before the wave came in.

_DSC9021

The third image has a simple rhythm. Note that your eye is drawn to the break in the rhythm. The rule of thirds was applied here, not by placing the subject there but the absence of one (negative space). In this case, a 15 sec exposure was sufficient to smooth the water and eliminate strong distracting details in the water. The sky and water were becoming nearly one in tone as the evening came on.

Ocean View – iPhoneography

Ocean view

As many of you may have noticed I have been featuring quite a few iPhone images on my blog and Facebook page recently. That is due to the fact the I have not had the time as of late to get out and shoot using my full set of gear – it has truly had to be “Photography Along the Way”. As I have noted many times, it is not the gear you have but the eye behind the gear. One reason I keep shooting with the eye phone is to keep my eye sharp. As with many things, practice is key to honing your skills.

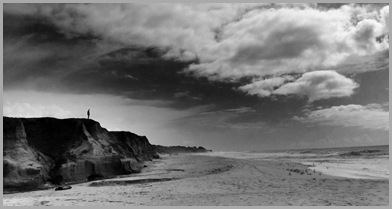
While walking along the beach with my daughter I looked up and saw this solitary person standing on the ridge. Landscapes with a single standout element like this are great opportunities for a strong image. The sky was dramatic as well. Having my trusty iPhone with me I was able to capture the moment. While I have been able to do this in the past with other point and shoot digital cameras I haven’t been able to process them in the camera to the extent I can with an iPhone. You now have a camera and virtual darkroom with you all the time.

Blog image: iPhone image shot with HDRPro and processed as BW image using Iris app. With an app like HDRPro you can capture such a broad range of light – it really lets you keep those bright clouds in check like you never could before in the middle of the day.

Also posted in iPhoneography

Michael Kenna

_DSC9021-4

While in Carmel, California this past week, I took the opportunity to visit a couple of Photography galleries downtown: The Weston Gallery and Photography West. I enjoy looking at the work of other photographers and this was the opportunity to see some top notch work. There were images from Ansel Adams, the Westons (father and sons), Michael Kenna, William Neill and other familiar names. It is always humbling when you get to see the work of photographers like these but, at the same time, inspirational.

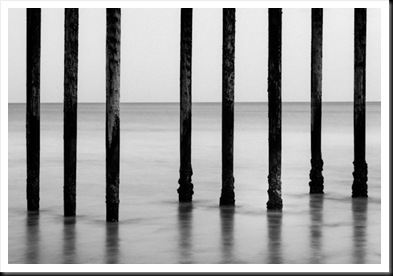
On this visit I was captivated by Micheal Kenna’s work. His B&W images really resonated with me deep inside. Simple strong compositions, displayed in relatively small 8×8 prints (in a world where most photographers are going big). His style is often minimalist. A style I have always liked. If you haven’t seen his work I would suggest you visit his website and take a look – Michael Kenna.

If you don’t visit galleries, I suggest that you do. It is a good way to expand your visual literacy and inspire yourself to new heights in photography. Maybe you will find a style that really resonates with you.

Blog image: A 15sec exposure under the pier at Harmony, California. I chose this image because I noted that Kenna often used long exposures in creating many of his minimalist images. Long exposures smooth out water and remove the detail. Longer (1 min) may have been even better in this case.

Also posted in Photographers

Lighthouse Implied

_DSC8711_HDR

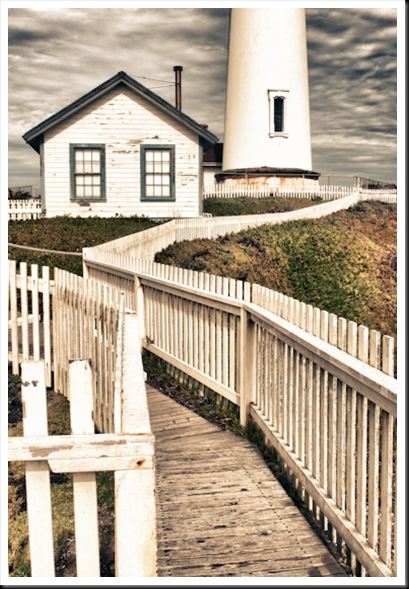
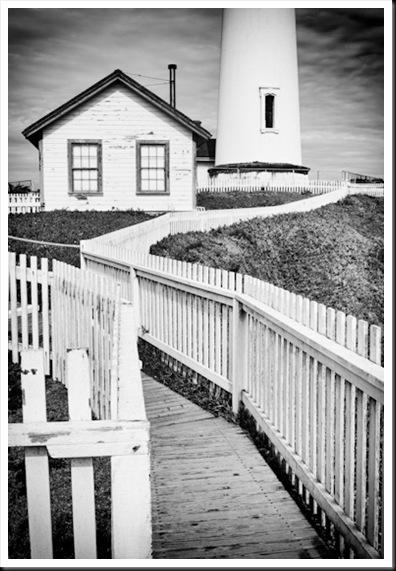
While shooting along the California coast this past weekend, I stopped by the Pigeon Point Lighthouse. It was mid day and I knew I would not be back at sunset or late afternoon. The light was not great but it was better than it had been earlier that day so I decided to capture HDR sets for post processing later.

The first blog image turned out to be one of my favorites. In part, because it only implies the presence of a full lighthouse without showing the full lighthouse. Maybe the top is missing – you don’t know. In general the viewers mind will fill in the missing piece (a type of auto-completion). This concept is something to keep in mind when composing your images and deciding what to include in the frame. Do you need to show everything or is only a piece needed? The fence and walkway provide a nice S-curve back into the picture where you are left with the mystery. Using leading lines of various shapes add nicely to a composition.

_DSC8711_HDR_2-Edit

As with some images, I found that I could process them for different looks that were all pleasing to me. I have shared a couple here for your viewing. Feedback on which approach you like better is welcome.

Blog image: Five exposure HDR image processed with HDR Efx Pro. The later was processed with SilverEfx Pro after the initial HDR processing.

Also posted in HDR Photography

What is a Camera

Recently I was reading an article by Mark Lissick  in Outdoor Photographer. He asked a very important question – What is a camera? How would you answer? The typical answers are “a device that records an image or an object that captures light”. As Mark points out, how you view your camera can limit how you use it – does it just capture or record? As I thought about it, I realized my view of my camera has evolved over time. In the beginning I probably thought of it in the classical terms above (especially with my engineering background). However, at some point for me it became a tool or perhaps a canvas where I could paint most any image that I could imagine.

As I learned to use every control and capability of my camera I began to craft images as I visualized them in my head. I could slow down the shutter and paint moments of time on the back or canvas (sensor) of my camera creating brush strokes; I could blur out the backgrounds to create flowers floating in a sea of color; changing the focal length I could create depth. In this creative process the camera is just one of the many tools at your disposal. Reflectors, filters, lights, lens, etc. are additional tools. But as with any tool how well you know its capabilities and possibilities can limit or enhance your ability to create.

Take the time and get to really know the tools in your hands.

What is your camera for you?

Blog Images:

  1. A slow shutter speed pan of the SE Oregon grasslands creating an impressionist painting of the landscape.
  2. A slow shutter speed shot of flowers using the camera as a brush in circular motions.
  3. A shallow depth of field to create a place a yellow flower in a sea of blue.

Abstraction

To the Elevators

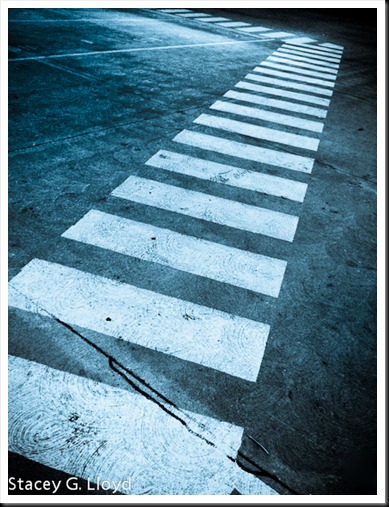
There are probably times when you look around and think “There is nothing here to shoot.”. Maybe the subject matter around you isn’t that interesting or doesn’t ring your bell. That is a good time to think about abstraction. Try looking at how you can frame just pieces of the subject matter around you – get in tight. Don’t worry if you are losing subject context. Look for graphic patterns (triangles, circles, squares, diagonals, V’s, etc) or interesting textures. See if you can come up with an interesting composition or design. Think about ways you might post process the subject matter to add interest, deal with boring or clashing colors (B&W is good for that) or bring out texture (using contrast or clarity). With strong graphic abstracts, keep other distracting objects/materials out of the image or clone them out later if you have to.

The blog image was taken in a rental car parking garage. The car rental agent said “Follow the yellow lines to the elevator…”. Parking garages can often provide interesting graphic subjects. There wasn’t anything standing out to me in this one so I stopped and composed this diagonal view of the “yellow” line. It not only had strong graphic value, the concrete had a heavy texture. I found that processing the image as a high contrast cool B&W image added the punch the image needed and brought out the texture. I also burned in (darkened) the edges and corners to give it more depth.

Now look closely around you today and see what abstracts you can create.

Contemplation

Blog_20110124_2

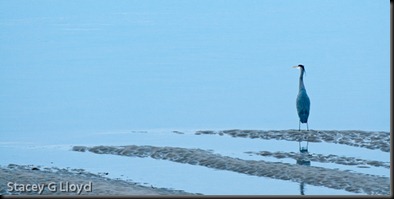
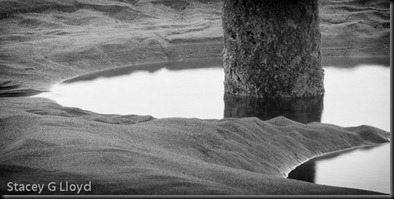
Now and then we just pause and contemplate life. When we do, we often fixate on an object or stare into the distance. Where am I going? Where is life taking me? Is it going where I want? What lens should I buy next?

To me, each of these blog images have a sense of contemplation, each with a different feel. The first image is calming and neutral emotionally. The heron staring in the distance and the overall blue tones support this calm feel.

The second image is a bit more negative emotionally and moody. A hole or dip in the ground, the burned in edges and the black and white processing add to this feel.

Blog_20110124_1

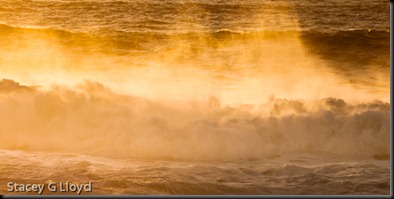
And the third image is more warm, optimistic and refreshing. Can’t you feel the balmy air soothing your soul. The strong warm tones and the familiar subject matter of breaking waves give the image a positive energy.

Blog_20110123_3

Color, light and subject matter all impact the viewer. Sometimes it will be different than yours, but often a common or shared subject and/or experience like the ocean at sunset is a good way to strike a common emotional chord.

Life as with these images can sometimes be the pits, just flowing along or bright and optimistic. I hope you are getting to experience some of the latter!