Category Archives: Light

Waiting for the Light

Photo Snapseed

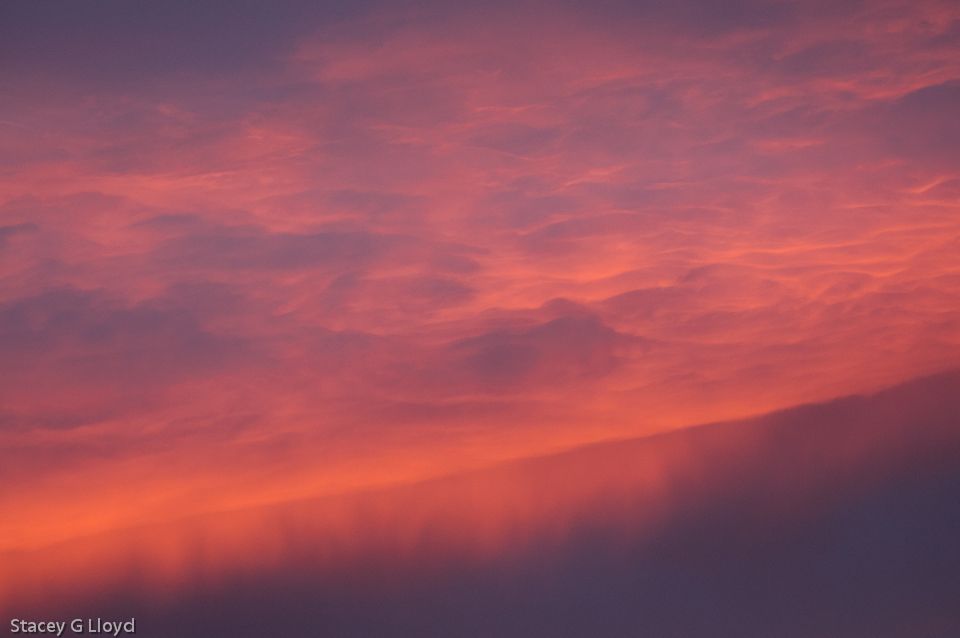
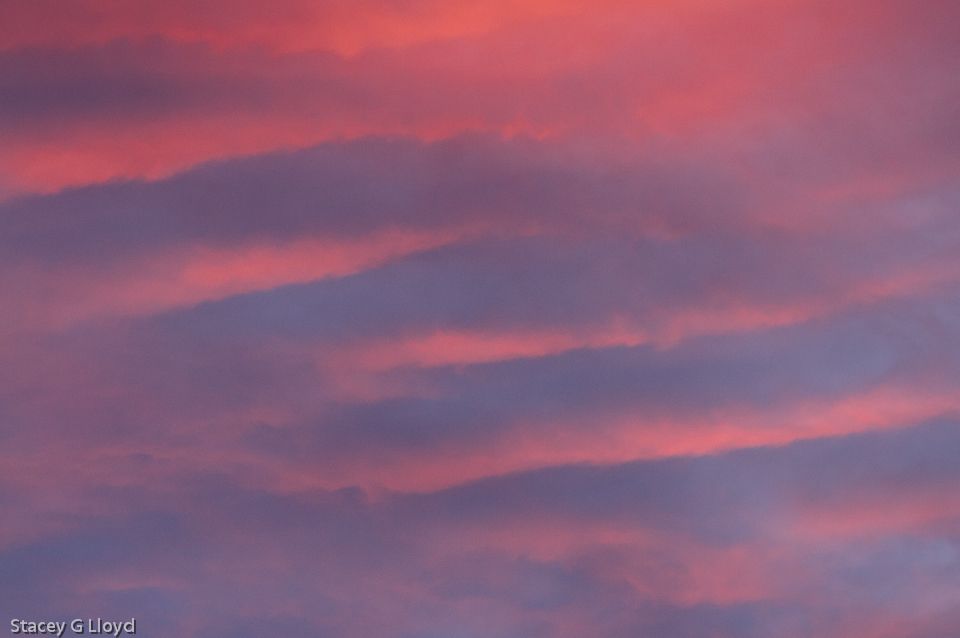
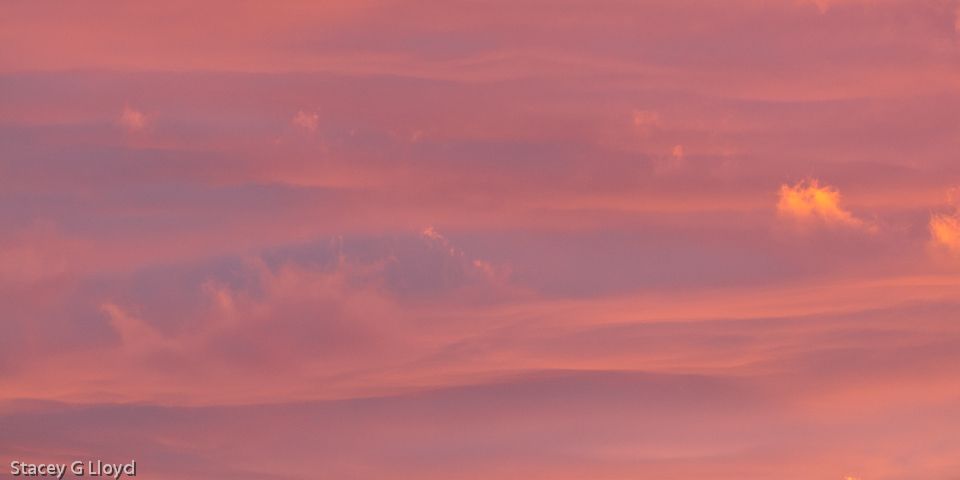
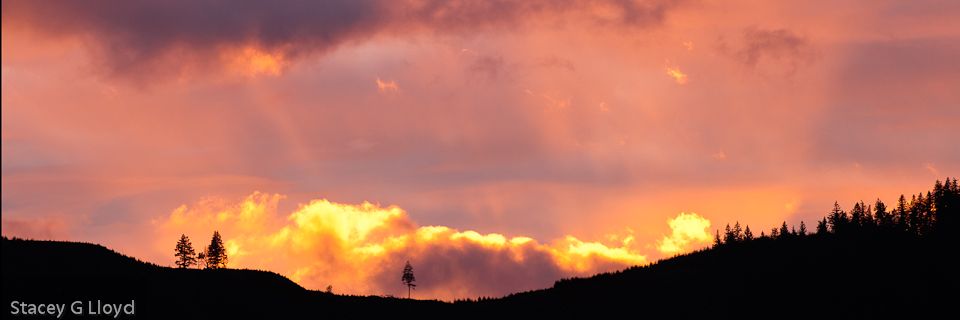
To be honest, I am not one who usually likes to just sit and wait. But with photography, the two most important elements in a great photo are the light and the composition (assuming the technicals are fine). When it comes to landscape photography, being there when the light is special adds a lot to the image. This usually means being out there early/late or in inclement weather looking and sometimes waiting for that magical light. I was reminded of that this past week as I walked by a building in thenSilicon Valley area that was sculpted with flag stone. It was 7pm and the sun was just coming around the building at such an angle that it skimmed just patches of the flagstone. Unfortunately my iPhone was dead and I didn’t have a camera. The next evening, I was in the same area so I took the time to wait and watch for the magic to happen again. While I was waiting I noticed a heart shaped structure in the flagstone. As luck would have it, the sunlight skimmed those stones and image shown hear was the result. The iPhone image was processed with Nik’s Snapseed to add a vignette and some drama to the image.

Also posted in iPhoneography

Sunset on Fire

Blog_20120212_10.jpgBlog_20120212_12.jpgBlog_20120212_1.jpgBlog_20120212_2.jpgBlog_20120212_4.jpgBlog_20120212_5.jpgBlog_20120212_6.jpgBlog_20120212_7.jpgBlog_20120212_8.jpg
Last night there was a spectacular sunset. I had just arrived home and I noticed the beginning of some nice color and texture in the sky. Deciding to grab a couple texture or abstract shots I got out my camera with a 100-300mm zoom and turned on the VR (vibration reduction). The slide show above is a set of images taken progressively as the light show continued. I would have liked to have been by a lake or some other great setting, but I made do with what I could shoot through an open upstairs window. Yes, the colors were that dazzling and the light rays were all there. There was also virga adding to the show.

 This was a series of the magic moments I wrote about in a previous blog entry.

Still Life Light Painting – How To


I have continued to explore and experiment with new techniques during the winter months. Light painting has become somewhat popular with landscape images and is used by s0me commercial photographers for product lighting. Light painting involves taking long exposure images while the photographer (and/or assistants) use flashes or flashlights to "paint" the landscape or still life arrangements. I have included a couple of samples from my experimentation in this blog. As you can see, very dramatic and what appears to be complicated light setups can be created this way. I happen to have a collection of old cameras and the associated gear so I have been using that for my subject matter.

I learned this technique from Dave Black who is a master of lighting (I highly recommend you take a look at this work – very nice). I have outlined the basic steps below. It is hard to describe all the nuances without showing the technique on a video.

  1. Setup your still life arrangement in a very dark room.  (Test if your room is dark enough. Take a 30sec exposure at f8. If it comes out completely black, you are good.)
  2. Setup your camera on a tripod and frame your composition.
  3. Setup the camera for a 20-30sec exposure (at least as a start) and turn on noise reduction in your camera. Set the f-stop based on your desired depth of field.
  4. You will want a couple of flashlights- a penlight and a larger flashlight (LED ones work well). Make a black plastic snoot (tube made from black tape or such) so the bulb is not visible from the side. Your flashlight is likely get in the frame and you don’t want to see it.
  5. Turn off the lights and use a flashlight  to paint on your still life. Always keep your flashlight moving. Use the penlight to highlight where you want to draw the viewer’s eye. Use the larger flashlight briefly if needed to "dust" the setup with light, keeping it moving.
  6. This will be an incremental process and it will likely take lots of trial and error. Start by just painting a small area at first to see how much light is needed.  View the results, adjust the light as needed and add another area. Personally, I count as I paint each area and try to follow the same basic sequence to get some repeatability.
This technique requires some patience, but it can be fun as you let your creative juices flow to come up with very unique lighting.
Also posted in Composition, How To, Photographers

Magic Moments

Blog_20120116_1

I love it when you are in the field shooting and the light turns magical. This seems to happen most often when you get out in less than pleasant weather or catch the weather in transition. A few days ago I went out early in the morning to capture snow scenes near my home. It was cold and still snowing off and on, but a good snow doesn’t come that often in the mild Willamette Valley; I wanted to get out there before it melted. From what I could see, it was going to be a totally cloudy grey morning, but then to my delight cloud breaks formed shortly after sunrise. The images here were caught during those magic moments.

Blog_20120116_1-3

The problem with magic moments is that they don’t last very long. Capture them when you can.

Blog_20120116_1-2

Nature’s Spotlights

Blog_20110921_1

Lately I seem to be tuned into how nature spotlights elements of the landscape. This can happen on a cloudy day when beams of light shine through a hole in the clouds, at sunrise or sunset when the suns rays find their way through a gap in the mountains or when sun light bursts through a hole in the trees. Notice how these spotlights draw your eye to a specific feature.

Blog_20110716_1-2

I have included here a couple of examples from my recent trips to Washington, Colorado and Utah. When you are in the field shooting, make sure you take time to look all around you and notice how nature is highlighting the landscape. If you see light moving across the top of the mountains, watch and wait to see if it brings out a feature that will add to your composition. Often you have to be patient, but the reward is worth it.

Blog_20110913_1-4

Also note that nature provides different colors of spotlights come morning or evening.

Blog_20110913_1-5

Blog images:

  1. Shot at sunrise at the Colorado National Monument. Light was selectively beaming onto different monuments as the sun broke the horizon.
  2. Here a ray of sunlight coming through the tree canopy formed a perfect spotlight on the base of this Sycamore tree early one morning at Maryhill State Park in Washington state.
  3. The last rays of aspen glow just hit this mountain top through a gap between other mountains at sunset – Rocky Mountain National Park in Colorado.
  4. Another hole in the clouds late in the afternoon created this spotlight on the mountain side. Again in Rocky Mountain National Park.
Also posted in Composition