Category Archives: iPhoneography

Waiting for the Light

Photo Snapseed

To be honest, I am not one who usually likes to just sit and wait. But with photography, the two most important elements in a great photo are the light and the composition (assuming the technicals are fine). When it comes to landscape photography, being there when the light is special adds a lot to the image. This usually means being out there early/late or in inclement weather looking and sometimes waiting for that magical light. I was reminded of that this past week as I walked by a building in thenSilicon Valley area that was sculpted with flag stone. It was 7pm and the sun was just coming around the building at such an angle that it skimmed just patches of the flagstone. Unfortunately my iPhone was dead and I didn’t have a camera. The next evening, I was in the same area so I took the time to wait and watch for the magic to happen again. While I was waiting I noticed a heart shaped structure in the flagstone. As luck would have it, the sunlight skimmed those stones and image shown hear was the result. The iPhone image was processed with Nik’s Snapseed to add a vignette and some drama to the image.

Also posted in Light

Ocean View – iPhoneography

Ocean view

As many of you may have noticed I have been featuring quite a few iPhone images on my blog and Facebook page recently. That is due to the fact the I have not had the time as of late to get out and shoot using my full set of gear – it has truly had to be “Photography Along the Way”. As I have noted many times, it is not the gear you have but the eye behind the gear. One reason I keep shooting with the eye phone is to keep my eye sharp. As with many things, practice is key to honing your skills.

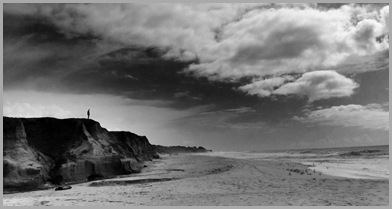
While walking along the beach with my daughter I looked up and saw this solitary person standing on the ridge. Landscapes with a single standout element like this are great opportunities for a strong image. The sky was dramatic as well. Having my trusty iPhone with me I was able to capture the moment. While I have been able to do this in the past with other point and shoot digital cameras I haven’t been able to process them in the camera to the extent I can with an iPhone. You now have a camera and virtual darkroom with you all the time.

Blog image: iPhone image shot with HDRPro and processed as BW image using Iris app. With an app like HDRPro you can capture such a broad range of light – it really lets you keep those bright clouds in check like you never could before in the middle of the day.

Also posted in Uncategorized

Anniversary Missed

Eye See Art 

I realized the other day that I have now been writing this blog for over two years as of January. While this blog has meandered around a bit, the overall theme continues to be about creating photographic art wherever you live, work and play – “Photography Along the Way”. With the advent of all the small relatively  high resolution cameras and phones, like the iPhone, this is becoming even more true. Not only can you capture the image, but process it and post it from the field.

The blog image is an example of what you might find on a cold winter’s day; art that jumps out to you in its own unique way. You just need to stop, look and see.

Also posted in Uncategorized

iPhoneography Along the Way

 2_Stacey_  

I know I promised part two of my blog on Framing and Matting, but before I do, I just wanted to share a little more iPhonegraphy (as it is being called). For me iPhoneogrphy is just another way to create images along the way and where you are at – that is my overall primary message in this blog. iPhones just provide a convenient way to have a reasonable quality camera with you all the time.

1_Stacey_

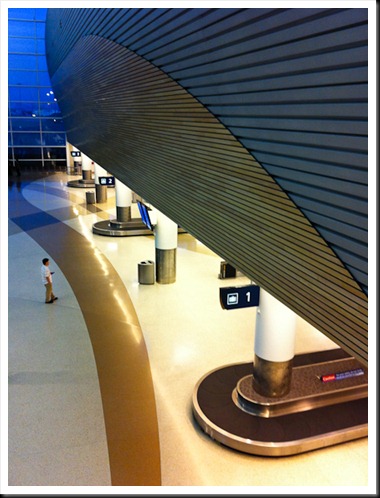
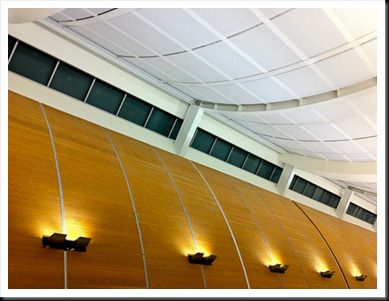
This past week I arrived a bit early at the San Jose airport on a return trip home. Not having my camera gear with me I decided to make the best of it and shoot a few iPhone images. I have included a couple here.

3_Stacey_

Blog Images:

  1. I waited a bit on this first image for people to be in good locations – balanced. In this case I got lucky and only one person was left facing into the scene – click!
  2. Looking up, I liked the lines and colors of this cool ceiling. I framed the picture to create a strong diagonal and keep and odd number of lights.
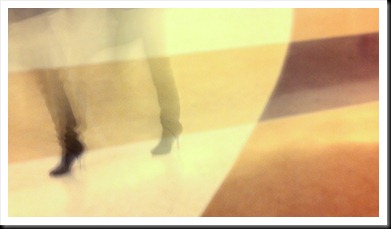
  3. The last two images I played with the “Slow Shutter” app again and with 1-2 sec shots took images of people’s feet stepping in and out of the frame. The patterns in the flooring allowed me to create interesting backgrounds. I braced the iPhone against a pillar, but wasn’t able to keep the background as sharp as I would have liked (needed a tripod). None the less the images came out very intriguing.

4_Stacey_

Also posted in Uncategorized

Seeing Anywhere (w/iPhoneography)

Blog_20101228_1-9

I started this morning reading a quote from Ernst Hass,”The camera doesn’t make a bit of difference. All of them can record what you are seeing. But, you have to see “.

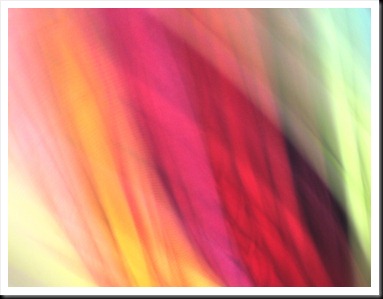
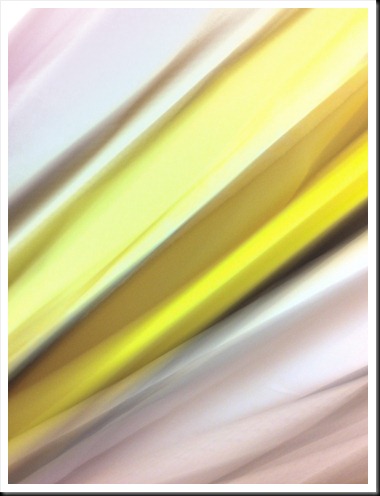
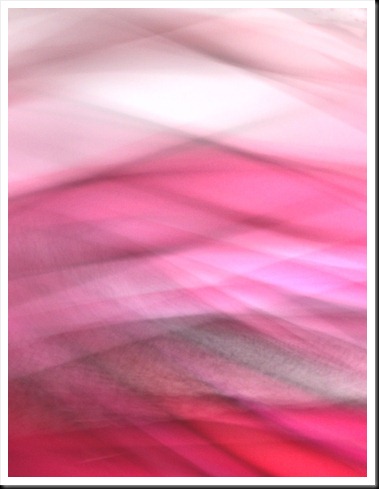
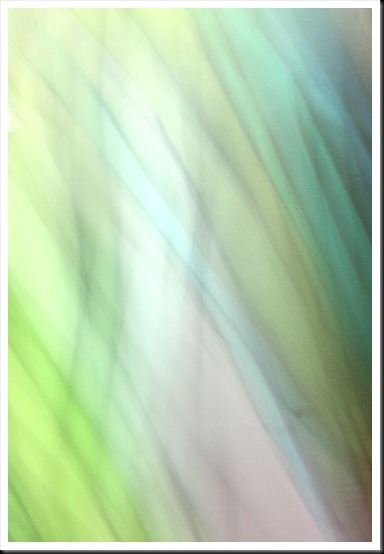
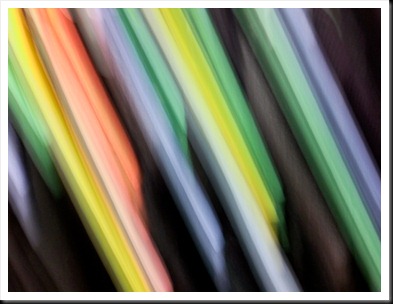
Later I was accompanying my wife and daughter to a clothing store. Not having much to look at myself, I started to see the palettes of color around me. Thinking of a new app, “Slow Shutter” (I had just loaded it on my iPhone), I decided to play with the colors around me and create color abstracts using iPhone pans and swipes.

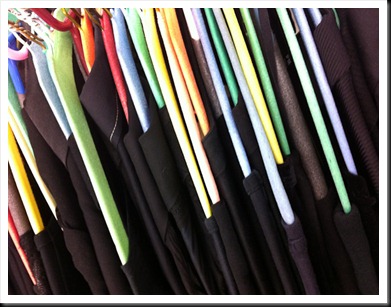
This is what was there:

Blog_20101228_1-5

The opening blog image and those that follow are what I “saw”.

Blog_20101228_2

Blog_20101228_1-8

Blog_20101228_1-3

Blog_20101228_1-2

This next image was created from several black tops hanging on different color hangers. Again you can see what was there and then what I saw. Now you may say, how can one “see” those things? The answer is simply imagination, practice and experience. I  looked for pleasing color schemes, individual colors mixed with opposites, used oblique lines for more energy, etc.

Blog_20101228_1-4

Blog_20101228_4

Was all I saw abstract colors? No. Here are a couple more images from that store visit. One indoors and the other out waiting in the truck.

Blog_20101228_1-6

Blog_20101228_1-7

Blog images: As noted above the first images were all created using an iPhone with the “Slow Shutter” app. For the images here I varied the shutter speed from 1/4sec to 4sec. In some cases I just moved the camera up and down or along the dominant lines, in others, I would twist the camera while moving it forward or backward (with the  longer shutter speeds). I tried a variety of motions seeing what patterns I could create.

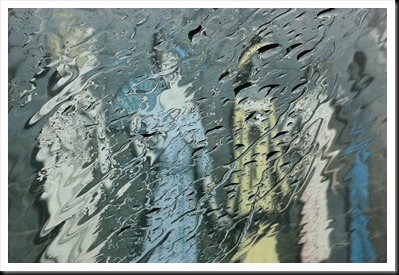
The last two images are straight shots using the standard iPhone camera app, the later being shot through a rain drenched window.

Also posted in Uncategorized