Category Archives: Uncategorized

Fall Painting

Blog_2012-11-06_20121106_1

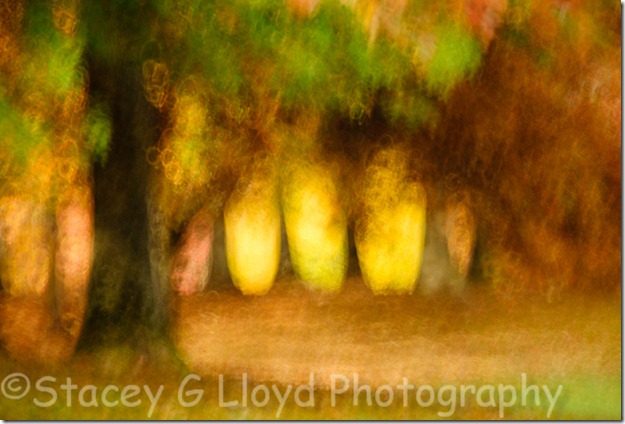
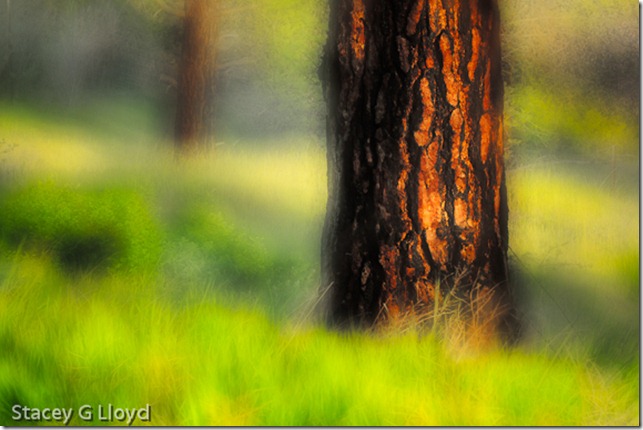
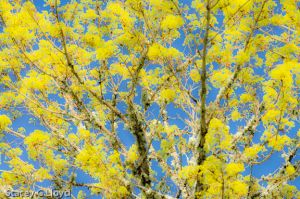
This fall, I have continued experimenting with different camera “painting” motions. In this blog I have included four different camera motions applied to the same scene. The compositions vary slightly, but this should give you an idea of the different looks that can be achieved by moving the camera with a slow shutter speed. The lead blog image was shot moving the camera in a tight circular motion – 1/3sec at f20.

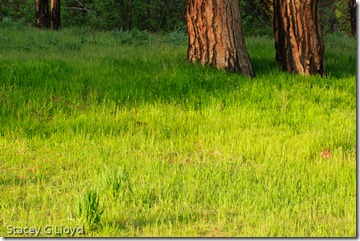
As with any good image, you still need to take into account the lighting, composition and tonality of the scene. In the series of images shown here, it was just past noon with a mostly cloudy sky resulting in inter-dispersed sun breaks. This can often result in too much contrast, but with camera motion a lot of blending takes place – reducing the contrast (In fact, you will probably need to add back some of the contrast during post processing). The composition takes advantage of the trees in the foreground to create depth and some framing. The gently sloping terrain adds a nice element as well. The colors were terrific as you can see.

Blog_2012-11-06_20121106_1-2

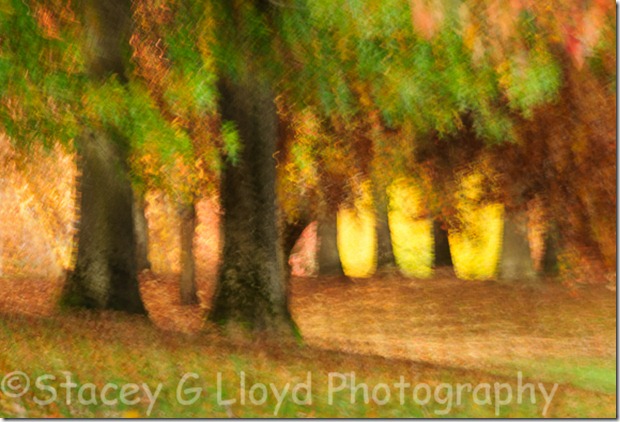
The image above was created with a shaky camera motion as I moved the camera vertically with a slight left to right motion to add a little bit of a diagonal (1/3 sec f20).

Blog_2012-11-06_20121106_2

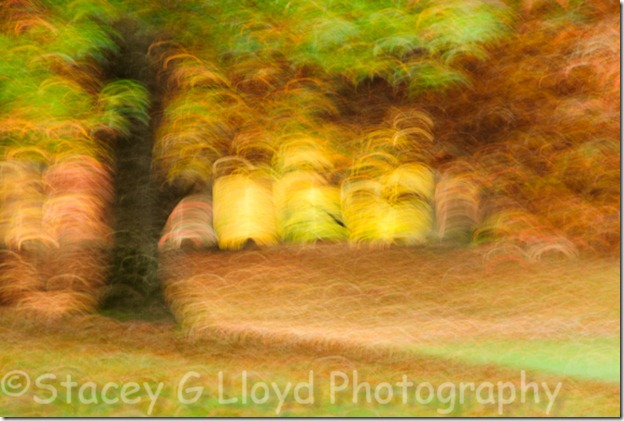
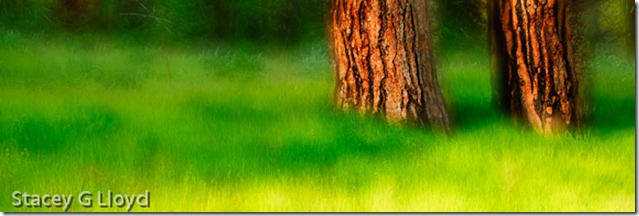
This image above was captured with a large circular motion. This results in arcs with the slightly shorter shutter speed used for this image (1/8 sec at f20). Notice that bright areas tend to erase the darker ones (the trees missing in the yellow area). You can use this to your advantage in some cases to “erase” undesirable elements in the scene.

Blog_2012-11-06_20121106_1-3

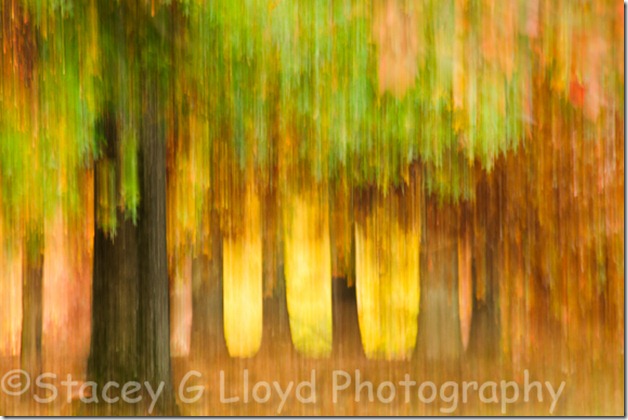
This last image was shot with a simple quick vertical motion (1/8 sec at f10). If you haven’t tried “painting” with your camera before, this is the place to start.

One last note, these images were all taken at a local business park. As I have said in the past, there are great images to be found no matter where you live.

Let me know which image you like best.

Panning Waves

1 Blog T

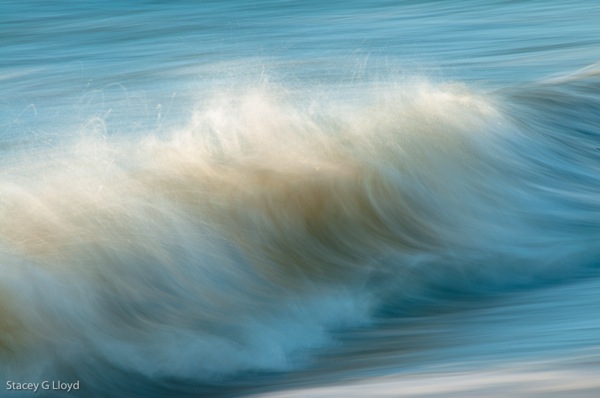
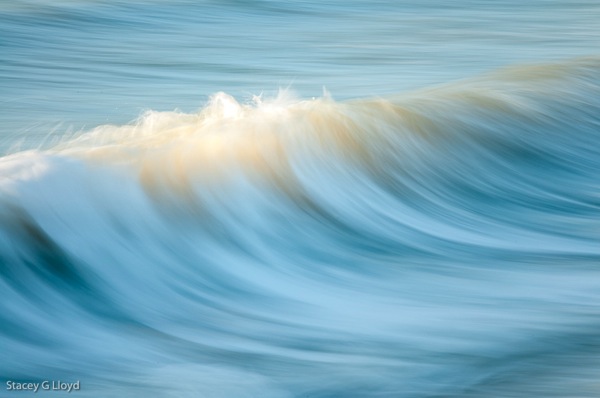
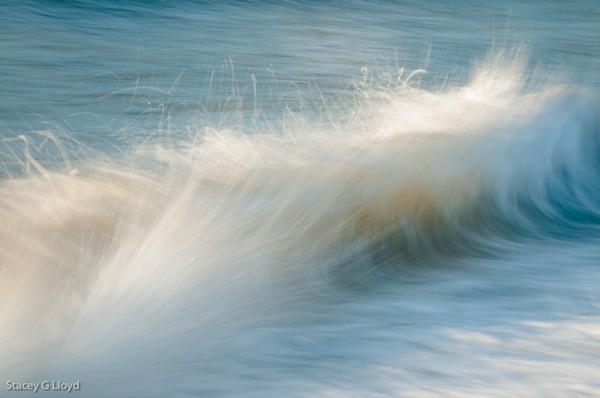
Just after sunrise on the Atlantic ocean, I started composing images of backlit waves. First I tried raditional shots, just trying to catch the waves at the crest while freezing the action. It then occurred to me that waves might make a good candidate for panning. Using a range of shutter speeds from 1/4 to 1/2 sec I started panning the camera, tracking a single wave (just like panning on a moving car, bicycle, etc). The images come out quite painterly, a look I always like.

Shown here are a couple of my favorites.

Notes:

  1. To get this slow of a shutter speed I was shooting at f36, ISO100 with a polarizer on.
  2. The blue and gold colors were created by the morning sun combined with the shadows in the waves. 
  3. As always with this type of shot you need to practice and capture several exposures to get one good one.

1 Blog T 2

Notice how the slow shutter speed captures the spray as it shoots in different directions. 

1 Blog T 3

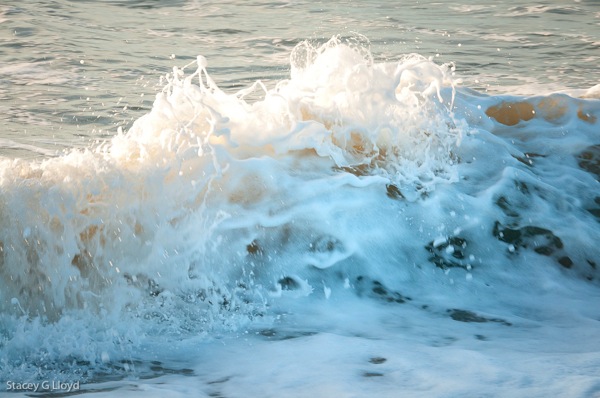
Below is an image shot at 1/200 of a second, f9, ISO 200. A more traditional image.

1 Blog T 4

Tagged , , , |

Hosta Image Play

Blog_20120529_1

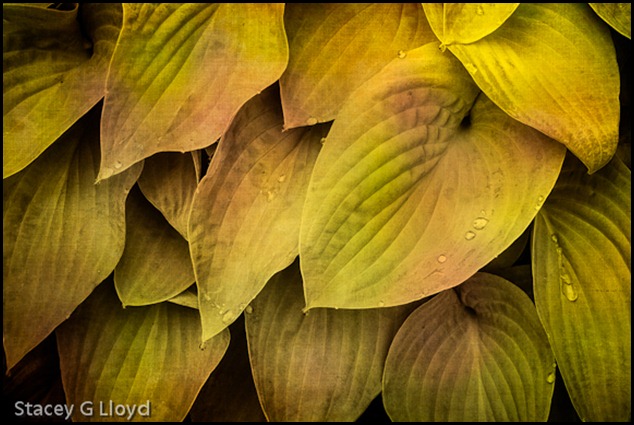
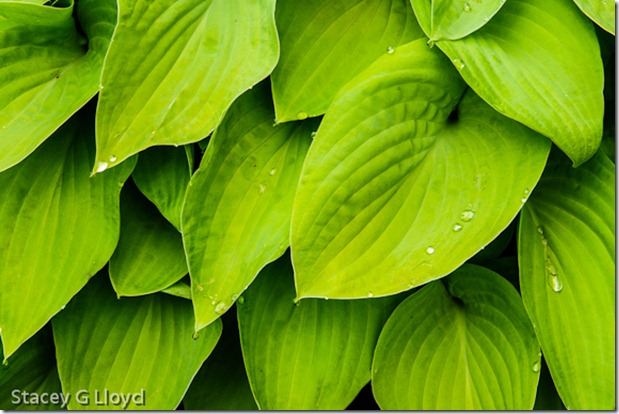
Every now and then I like to play with an image and look at what variations evolve. The lead image is the final result of last night’s play. Before I write about the steps I took, I would like to address the composition. The Hosta leaves shown here, are just a few on a very large plant. I walked around and around the plant looking for a pleasing composition. Here are some of the considerations that went through my head as I framed this image: a focal point for the eye to rest (notice that only one leaf is mostly visible (about half of most leaves are in the frame); a nice flow (note the diagonal motion); where to place the focal point (the rule of thirds); nice placement of the water drops; soft lighting that still brought out the leave texture, etc. The original image is shown below and it came out quite well as is.

Blog_20120529_1-4

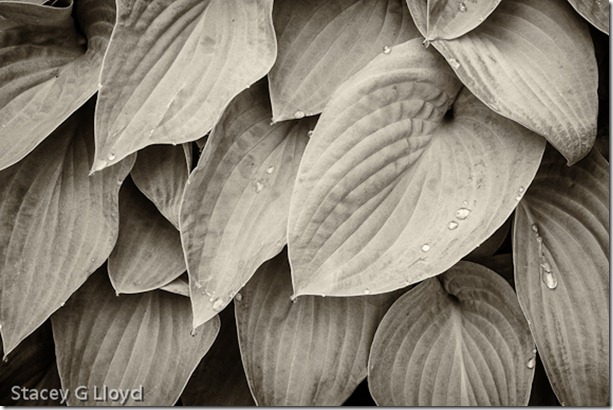
In the “lightroom”, I started off thinking I would create a sepia toned version. My past experience had shown that to be real nice for foliage like this. The image was brought up in Niksoft’s SilverEfx Pro and I started clicking through the presets. I found a look I liked but removed the framing and added a soft vignette. Tweaking the contrast and structure I achieved a nice overall look. Several local adjustments were then made to bring out the drops on the main leaf and address a couple minor distractions. The result is shown next.

Blog_20120529_1-2

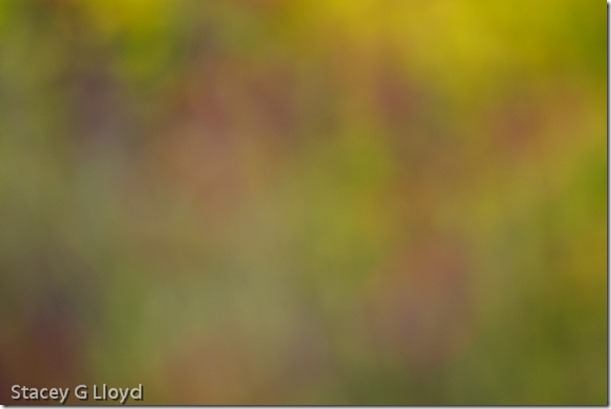
I considered stopping at this point as I was happy with the result, but then I remembered I captured a couple color wash images (flowers and foliage totally out of focus) and decided to try them out on this image. The wash is shown here.

Blog_20120604_1

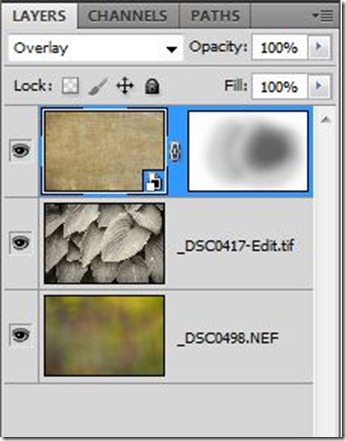
I actually placed the color wash “under” the image and then blended it with the Sepia toned image using the “Overlay” mode in Photoshop. This is what brought most of the unusual coloring to the final image. Finally, to give the image a little more of a painted look I blended in a “Flypaper” texture called “Nora Batty” in the overlay mode with a hand brushed mask. The Photoshop layer stack is shown below.

Capture

We have all kinds of tools at our disposal in today’s digital photographic world. Let your mind run free and play as a child would. You will be amazed at what can come from within. The tools just allow you to capture what your mind can imagine. The more you play, the more you will know the tools and be able to create those “what if” images. Have fun.

Orton Derivative

Ponderosa

I am always looking for new ways to express my artist vision. Recently I decided to create a selective blend of an Orton style image with the original. An Orton image is typically a blend of a “straight” image with an out of focus version. The out of focus version can either be created using Photoshop (by applying a Gaussian blur) or in the field. I typically create the out of focus image in the field. When you do that you need to remember to open up the f-stop to minimize the depth of field, overexpose 1-2 stops and switch to manual focus so you can defocus the image. For more examples of the Orton Effect search my blog for “Orton”.

Note that while the technique adds a nice look, the image works well because of the nice morning light.

Blog_20120430_2-2 

Above is another example of an image applying this technique. Below are the two source images along with the Photoshop layer stack.

Blog_20120430_3

This is the straight capture: f18 at 1/8sec.


Blog_20120430_1

Here is the out of focus capture: f2.8 at 1/125sec.If you don’t have this second image, you can create it in Photoshop by duplicating the original image, adding a Gaussian blur and applying a “Screen” using the “Apply image…” in the “Image” pull-down menu.


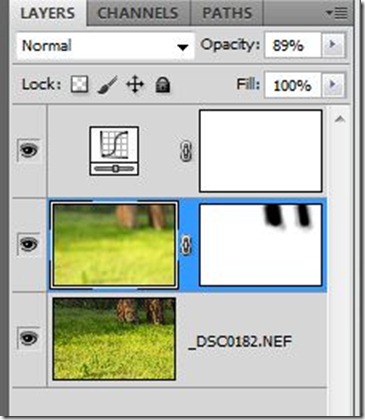
Photoshop Layers

Notice a couple of things about the layer stack. First, the out of focus image is placed on top of the straight image and blended using normal mode – 89% in this case. Second, a mask layer was added and the tree trunks were masked using a brush whose density is less toward the edges (to better blend the images). Third a curve adjustment layer was added to improve the blacks, whites and the overall contrast.
Have fun.

Around the Yard

c66-Blog_20120422_1.jpgBlog_20120415_8.jpgc53-Blog_20120422_5.jpgc13-Blog_20120422_4.jpgc48-Blog_20120423_3.jpgc87-Blog_20120415_7.jpgc99-Blog_20120415_6.jpgc65-Blog_20120422_2.jpg
 

One thing I love to do in spring is get up early on a Saturday morning and just roam around the yard and look at all the emerging life. Sometimes I walk around with my camera and just see what beautiful art can be found. Here are a few of the images I captured on a couple mornings.

Rays of Sunshine?

Blog_20120404_3

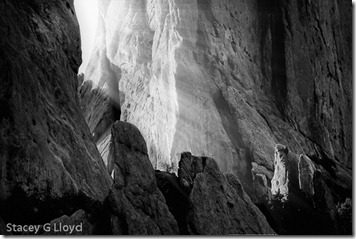
I posted a Facebook entry recently where I applied a new iPad app called “Rays”. In this blog entry I will go a little more in depth and show how I applied Rays to another image in my catalog – the result is the lead blog image.

Walk Into the Light

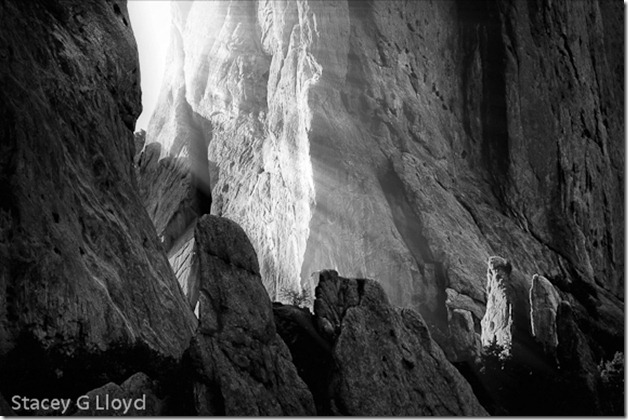
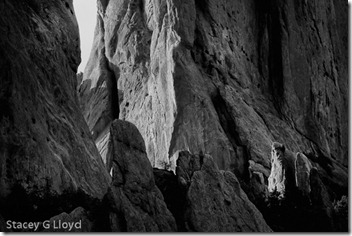
The original image is on the left – before applying “Rays” . It is a B&W HDR image processed with Nik’s SilverEfx Pro. I selected it because it is a high contrast image with a strong white area; an area where it seems plausible for light rays to emanate.

I transferred this image to my iPad where I could apply the Rays app. Now the fun begins. The first thing you will want to do is slide the “Brightness” slider to the right until you can easily see the light rays. Next you will want to Blog_20120404_1place the point from which you want the light rays to radiate. In this image I placed the little round circle that denotes the light source in the upper left corner where the sun actually was when I captured the image.

I would suggest that next you try adjusting the “Threshold” slider. This slider determines the highlights from which the app will create rays – from just bright white areas to light shades of gray. Adjust until only the areas you want emanating rays are doing so.

Blog_20120404_2

After that try adjusting the “Length” slider. It does just what you would think – control the length of the light rays.

There are three other adjustments you can make to get the look you want: the “Ray Opacity” and “Source Opacity” sliders and the ray color selection box.

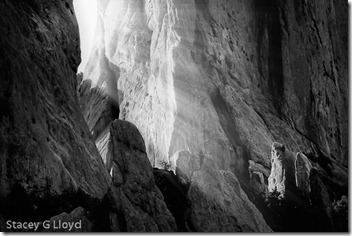
The 2nd image is the resulting image from  Rays. Notice however there is a problem. The rays are overlapping the large rocks in the lower right-center of the image. That area should be in shadow. To correct that I opened the new “Rays” image along with the original image in layers using the PhotoForge app. I was then able to paint a mask over the areas I didn’t want to see rays. The result is the third image. I made one more adjustment in Nik’s Snapseed on the iPad. I felt the face of the rock where the light was hitting was a bit too light. I added a selective control point and slightly reduced the brightness and increased the contrast to bring out the rays. The result is the top blog image.
I am looking into taking things a bit further by adding a little graduated fog using Nik’s ColorEfx Pro (back on my Mac). This might make the light rays seem even more plausible. With all the tools of the digital age, your imagination can explore all kinds of imagery. Have fun.


Shadow Play

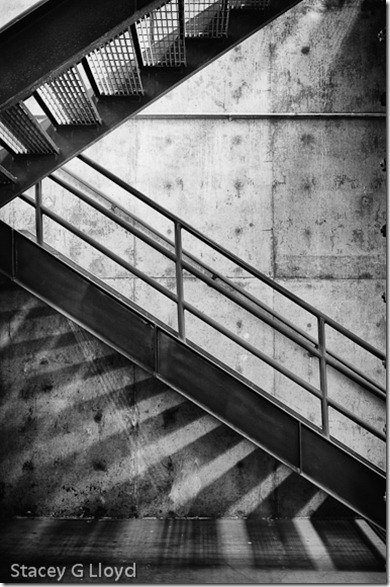
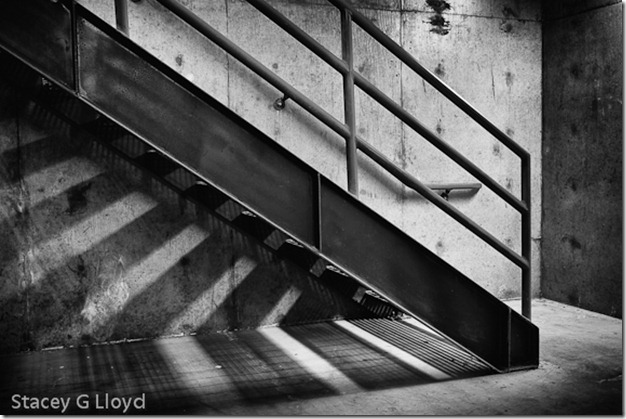
Blog_20120304_1While observing the light around you, it is always good to keep an eye out for shadows. Maybe it is the middle of a bright sunny day and it is not so good for capturing what you had in mind. Look around, there may be something fun in the shadows. The two stairway shots here were the last images I captured on an outing to a sewage pump station (more on that at a later date). As we headed for the stairs to exit, I saw these fun shadows and stopped to work with them a bit. As always, I try to look for both horizontal and vertical framing compositions. Sometimes a subject can lend itself well to both.

The images were processed with Nik’s SilverEfx Pro.The edges were burned (darkened) to keep the viewers eyes in the frame. I used local adjustment points to selectively lighten/darken and add contrast to specific areas of the images – areas where I wanted to draw the viewers eye.


Blog_20120304_2

Two Interpretations

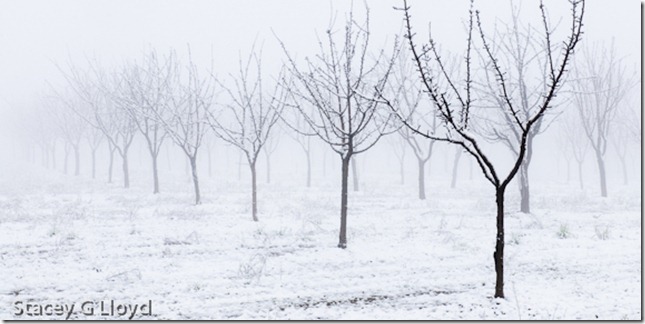
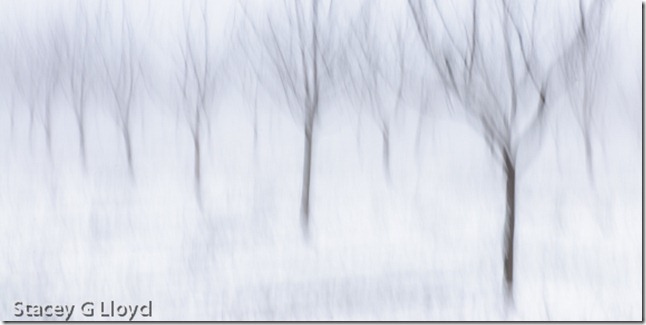
When faced with the scene before you, there is always the question of how you want to interpret it. Here are two takes on the same scene taken when we had another snow recently. Both represent an orchard in the snow, but there both have a different feel.This first is a very literal interpretation documenting the receding visibility of a foggy winter morning in an orchard. The later is a more whimsical interpretation that is less harsh and only gives the impression of an orchard in winter.

Blog_20120302_2

Blog_20120302_1

Which do you like best and why?

The Gorge

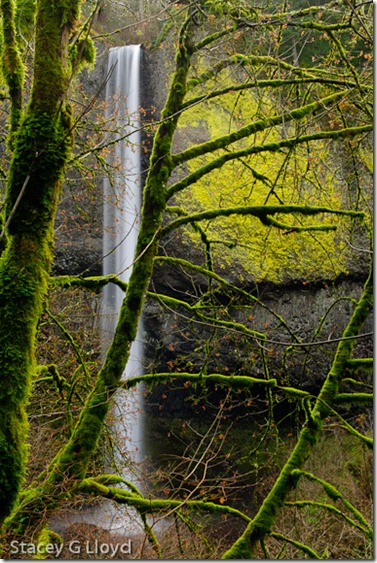
Latourell Falls

One of the beautiful places I have the privilege of living near is the Columbia River Gorge. It is a little over an hour away from my home. I don’t go there enough, but when I do, I am always in awe of the beautiful landscape there: falls and meadows, mountains and ravines. From thick forest in the west to golden brown treeless terrain in the east. They can all be found in the gorge. If you have never been there, I highly recommend it The photographic opportunity is endless.

On the left is one of the many falls in the gorge – Latourell falls.

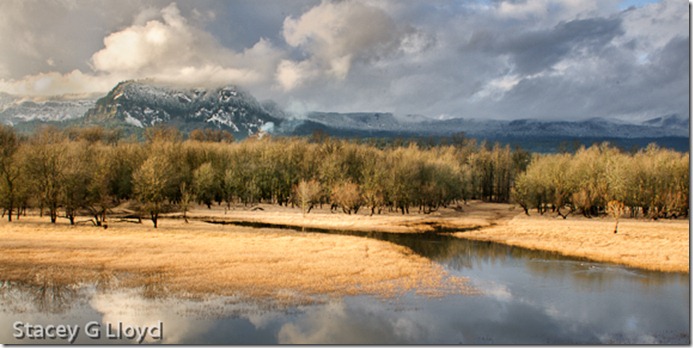
Below is a wetland meadow that you will find behind you when you visit Horsetail falls. It can be found just across the railroad tracks (watch out for trains!). Late afternoon sunlight gave the grasses and trees a wonderful golden hue.


Blog_20120227_1-3

Some you win, some you loose

Blog_20090221_1I received the results from a juried exhibition on Friday. Much to my disappointment none of my images were selected. The same was true in the fall for another juried exhibition. It can get discouraging. But as in the past I reviewed the images selected by the juror and tried to learn something for the future. 

After looking at the images that were selected, I can see that I was a bit off the mark in the images I submitted for the targeted theme, “In Your Dreams”. I should have submitted some other images that might have done better.

I did do some quick review of the juror’s work before hand but I didn’t really study as I should. Here is a pointer to the selected images – PhotoPlace (In Your Dreams). They are quite good. Take the time  to look and them and evaluate the overall style of the images selected.

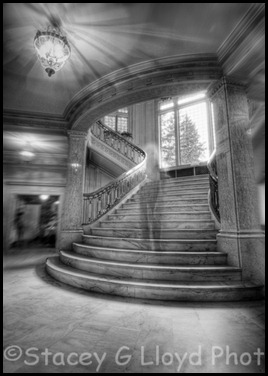
Blog image – this is one I probably should have submitted. It would have been a better match than most of those I did. This image is an B&W HDR image shot at Pittock Mansion with a radial blur blended into the edges using Photoshop. The ghost (me) was blended in using layers as well.