-
Recent Posts
Blogroll
Categories
Google Friends
Networked Blogs
Archives
- November 2012
- October 2012
- September 2012
- August 2012
- July 2012
- June 2012
- May 2012
- April 2012
- March 2012
- February 2012
- January 2012
- December 2011
- November 2011
- October 2011
- September 2011
- August 2011
- July 2011
- June 2011
- May 2011
- April 2011
- March 2011
- February 2011
- January 2011
- December 2010
- November 2010
- October 2010
- September 2010
- August 2010
- July 2010
- June 2010
- May 2010
- April 2010
- March 2010
- February 2010
- January 2010
- December 2009
- November 2009
- October 2009
- September 2009
- August 2009
- July 2009
- June 2009
- May 2009
- April 2009
- March 2009
Category Archives: Uncategorized
Fall Tapestries
I just thought I would share with you a set of images I created the past couple of weeks for a portfolio, “Fall Tapestries”. Click on the opening image to see the full set of images.
A tapestry is “A heavy cloth woven with rich, often varicolored designs or scenes…”. The earliest known Western tapestries were woven in the tranquil seclusion of monasteries by the devout seeking to beautify the house of God. Over time the art of tapestry making became one of the major visual art forms along side painting and sculpting. My tapestries seek to capture that finely woven design of color that permeates nature and reveals the infinitely artistic hand of the creator – from the intricate intermixing of the colors in the forest to the varicolored designs of the leaf.
Money in Fine Art Photography?
As I continue to look at how one can make a living in fine art photography, I have come to some conclusions.
Very, very few fine art photographers make their living primarily off of selling prints. One photographer in the NW indicated he only knew of 3-4 in the entire NW region who were able to do that. So in general I would say as a fine art photographer you need to look at generating multiple streams of income – books, teaching (online, DVDs and/or direct), lectures, etc.
It takes a long time to build up a following and income stream. Have you ever noticed how often it takes an artist in most any genera 10+ years to be recognized? The key here is to just keep plugging along and making the most of opportunities as they come along, getting your name out there.
One thing that does mark some of those that succeed is a specialization in a technique, subject or skill that isn’t easily replicated by the mass of other photographers out there. In business terms they have established a significant barrier to entry to their particular markets. The current turmoil in the photographic market place is in my mind due to the lowering of the barrier to entry that existed before the age of digital photography and the digital age. The digital age has allowed a much greater number of people to create good images and distribute them in a prolific manner. One result of this proliferation has been that to stand out as a photographer you must figure out how to rise above the masses. While the Internet has created the opportunity for visibility around the world – standing out in all this “noise” is difficult (think about searching on the web – how many hits do you get if you sea ch on “photographer”).
Stock photography as a major source of income is pretty much dead. While I hear rumors of a photographer now an then who still makes a living off stock, the professional fine art photographers I know would say not to waste your time there now. So far I have not had any success in the more direct sales approach to calendar companies and publishers either. This could be due to the economy, my lack of experience in selling to them or my images may not match their needs (though I try to do my research here). Time will tell.
So am I throwing in the towel. No. I am just sharing my observations along the way. Being persistent definitely seems to be a key to success.
Feel free to share your thoughts and experiences in making money in fine art photography.
More on Fall Photography
 I decided to add on a couple more hints on fall photography and how to ratchet things up a bit more.
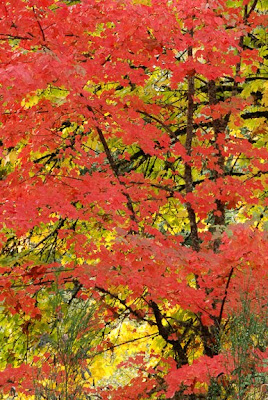
- When shooting images of fall trees, look for patterns in the color. Patterns give your image more structure and our brains like patterns. You will be surprised how many times there will be horizontal line or layers of color. I have included a couple of examples here – first two images.
- Look for back lit leaves and trees when the sun is out. The glow from back light can be quite spectacular and make a tree standout from the background. See next image.
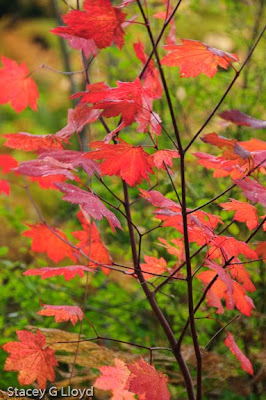
A couple more advanced techniques useful in fall photography:
- Use of double exposures to add more “glow”. This can be done in camera, using for instance Nikon’s overlay function, or in Photoshop post processing by stacking layers. To create the glow you see in the blog image I used an in camera overlay where the first image was in sharp focus and the 2nd one out of focus and overexposed 1-stop. I then blended them to taste using the in camera gain controls.
- Use camera pans or swipes to blend colors and create great fall abstracts. Here you slow down your shutter speed to 1/5-1/8 second and move your camera while taking the picture (it is fun to break rules!). Try it several times until you get an image you like. It is generally best (but not a rule) to move your camera along the primary lines in the image – typically up and down for trees. The last blog image is an example of this. For more on this see http://staceyglloyd.blogspot.com/2009/07/pans-and-swipes.html.


Have fun with fall shooting.
Fall Photography
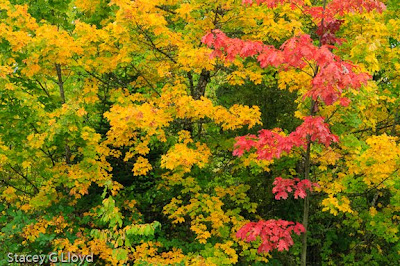
It is that beautiful time of year known as fall. One of those times when the world becomes a candy store for a photographer. There are images waiting to be captured everywhere it seems. But how many times have you gotten your fall photographs back and they just don’t capture the magic. Well here are a few tips I have learned over the years:
- Use a polarizer to bring out those colors and remove that washed out glare from the sky (even on a cloudy day). This is one filter effect you can’t recreate afterwards in Photoshop. If you want fall colors with deep blue skies you need this filter. All of the blog images where shot with a poloarizer.
- Shoot on a cloudy day right after the rain – the colors are very saturated under these conditions, but again make sure you use a polarizer to get the glare off those wet leaves. See above image.
- Underexpose a little in some cases (1/3 – 1 stop) – underexposure saturates colors.
- Look for a splash of one color surrounded by another to create impact. See first blog image.
- Look for structure to hang your fall colors on. See next image.
- Windy day – experiment with long exposures. The next image was shot at 1.6 sec to allow the wind to create the fall “fire”.


As always have fun!
Developing focus
This past week I started a class on portfolio development with William Neill (BetterPhoto.com). Our first lesson’s point was developing focus. He notes many (most – including me) photographers start off shooting about everything, but in the long run we need to focus on subject matter that really inspires us and develop portfolios around those subjects/themes. We can’t capture it all (though we try). 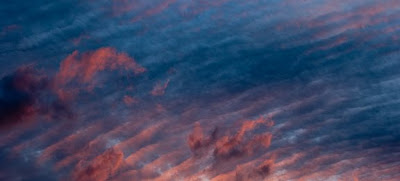

Personally, determining what really inspires me is going to be tough. I know that there times when I am more inspired than others, but I don’t know that it has been with any particular subject. Things that do inspire me: great light, painting with my camera, a foggy morning with sun breaks, the sweet smell of an Oregon forest, learning, my grandchild… these are a few of my favorite things (care to sing along). Think I am loosing focus! I’ll let you know what I learn along the way.
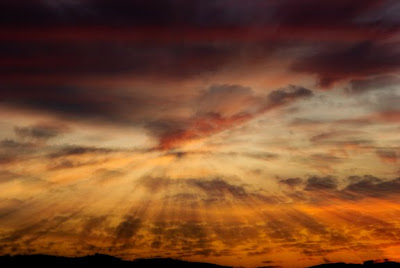
Speaking of inspirations, I have included a couple of inspiring sunset shots with this blog.
Also posted in Photographers
Image Backups

Well this past week I had to deal with the big fear we all have – a computer hard disk crash – main drive. Fortunately knowing that I am trying to build a business based on images, I had adopted a backup strategy sometime ago. The thing that made me nervous was that I had just changed my approach and the final piece, remote site backup, was in the process of being updated. On the good news side everything is fine and my images, email, etc were preserved. I use Genie Backup Manager for my backups and it has worked like a charm during the restore process. I could write quite a bit about picking your backup software, but I won’t. Instead I will remind you all of some key things to keep in mind for your backup strategy.
- Have a backup strategy!
- It is best to have 3 copies of your images: hard disk, CD, DVD, etc.
- Automate it as much as possible. It is easy to forget or put off manual backups.
- Having some form of off site backup is important because of fire, flood, etc.
- Remember these images are or will be a primary source of income (or maybe they are just irreplaceable family photos).
- Don’t skimp on cost for your backup.
 Personally I have an external drive that mirrors my main image drive plus another drive I keep off site. I am also looking at one of the online backup services.
If you want to know more about backup strategies and approaches there are lots of websites focused on that topic.
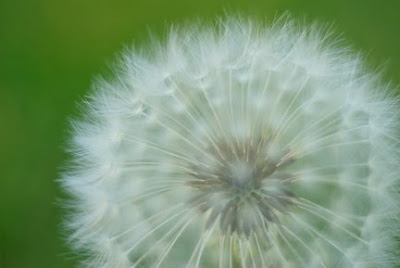
I have included a couple “preserved” images in this blog. I would have hated to loose them! These image also demonstrate that you can find a good subject anywhere. This dandelion was in the lawn next to our campsite a couple years back – a pristine one for sure. The red in the background of the first image was from a small cooler I set behind it.

Dunes at sunrise

While on the recent roadtrip along the Oregon coast, we stopped at Honeyman State Park. This happens to be next to the Oregon dunes. The first day we were there it was very windy. I asked the park ranger about getting to the dunes and he suggested his favorite way. However he said if I went up there now I would get a mouth full of sand (guess what my camera would get). The next morning I noticed the winds were gone and I could see stars. Given the shot I had in mind, I knew this may be my best opportunity (clean wind swept dunes at sunrise) so I hike out into the dunes up near the top of a BIG one. Need your morning exercise – climb a dune – a real thigh burner.

It was a beautiful morning with patches of fog. I found the shot I had imagined, the first image, and started to wait. It was peaceful and quite splendid to be up there before sunrise. Beautiful images and sites started to appear all around me – ones I didn’t even see earlier due to the fog. The sun started touching a far dune with shadows through trees behind me forming wonderful lines that highlighted the dune’s form (2nd image). I repositioned my tripod and took several shots (I knew had sometime before my imagined image took form).
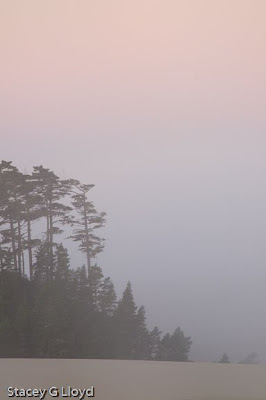

The last shot is actually the one I shot first as this tree island reminded me of the island shots I taken at Sunset Bay just days before (see Making Lemonade blog entry).
More Software fun!

A few blogs back I talked about the role of software in the future of photography. The bottom line was that some understanding (and useage) of software tools is essential to a photographer in the digital age. So in this entry, I thought I would show another before and after of an image where I applied some of the great tools available. The first blog image is actually the final image after processing. The second image shows the initial shot. While the initial shot composition and subject was good, the lighting and tonal spread was not. This resulted in a less than exciting image – but not bad.
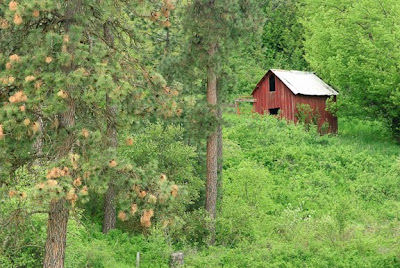
To create the final image, I first brought the image up in Topaz Lab’s Simplify ($39). This is where I created the painterly effect. The image at this stage was much more interesting but I decided to play with it more. Next I applied a “Bleach Bypass” filter in NikSoft’s ColorEfxPro. Finally, I applied a touch of “Glamour glow”. While the possibilities are endless, some definitely work better than others – experiment and have fun. In the end, using the tools is an art!
This might give you the impression that if you only had all these tools you could create great images. Let me reiterate that the underlying image must still be fundamentally strong: well composed, have a good defined subject, etc.
Making Lemonade
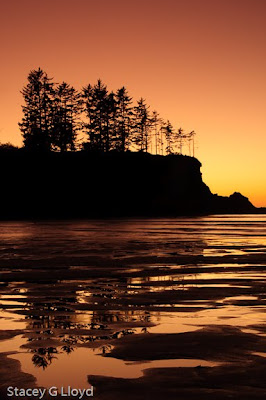
I have been out for a week road tripping. My wife and I enjoy doing that on our vacations. Generally we pick a direction and based on the time we have select a reasonable destination and play it by ear from there. In this case we targeted the California redwoods for the far point with a a return route up the coast or through central Oregon.
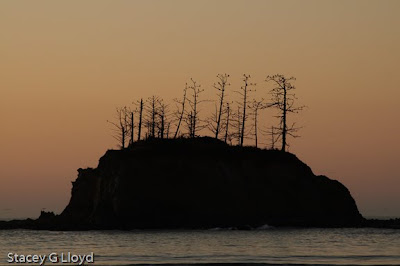
As free form as this sounds, at times I will get a bit fixated on a specific area I want to photograph. In this case I wanted do some shooting on the Oregon coast at Bandon. There are a lot of sea stacks there and it is considered by some as the most photogenic beach on the west coast. As it turned out, between the campground being full, clouds and high winds (sand blasting anything on the beach – like your camera). I didn’t get to shoot there as I hoped. Instead I ended up at a place called Sunset Bay beach. As it turned out, there was greate light that evening and I ended up with some really nice images. So while I thought I was getting the lemon, I was really getting the chance to make lemonade.

Bottom line – as a photographer you need to stay flexible and work with what you are handed – it could be some of your best work.
Images:
The first image reminds of some 70’s water color that was on books and cards – remember the 70’s? This image like several others was shot around -2/3 EV to better saturate the colors (more like I saw them). It was also shot well after sunset – it always pays to stick around until you are sure the light show is over. I saw another photographer come and go before the really great light.
The second image was shot earlier, but still after sunset. The colors were more pastel at this point.
The third image was shot the next morning (cloudy/foggy day). The color pallet was totally different – very soft hues – but I still like it.
Mausoleum in HDR

Through my photography club I was able to get into a mausoleum that is usually closed to the public. This was somewhat of a good will deal, we provide them with images for their use (a very good deal for them) and the local club consortium gets access for an upcoming field trip.
This is an old mausoleum that has been in Portland quite a while and has sections built over decades. We had only 4 hours to shoot and this was a big place (8 floors with multiple long corridors per level). The lighting was often high contrast, almost non-existent and/or with mixed sources – incadescent, flourescent and daylight. Good candidate for HDR photography.

The HDR shots required from 4-9 shots taken 1-stop apart to capture the total light intensity span. I think 9 may not have been quite enough in some cases. In a couple cases where it was real dark I had to up the ISO to 800 to shoot a sequence in a reasonable amount of time. I had to use the built in camera noise reduction which made shot times even longer.
A first pass at post processing of these images can be seen here. I can play with many of these images for a quite a while to get different results.
I have include a couple HDR images here in the blog. The final image is not HDR, but just a simple pleasant image.


