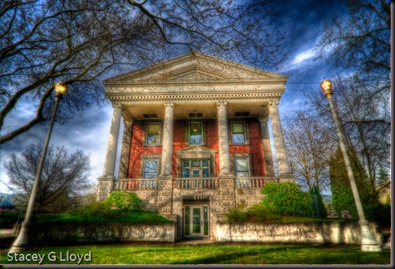
Category Archives: Uncategorized

Deception Pass Beach – Before and After

Coupville_1-2 

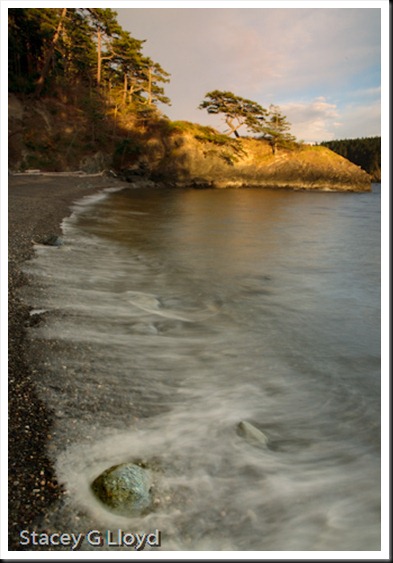
I have been asked a couple of times now about one of the images I created at the recent Tony Sweet workshop I attended – the image you see above. I decided this would make for a good "Before and After" blog entry so here it goes.

For this image I really need to address the shoot as well as the post processing.

The shoot (or creating the score):

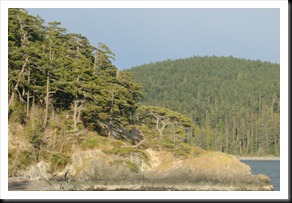
  1. I spotted the interesting tree from a distance but the tree was not separated well from its background as shown here.Coupville_1-4
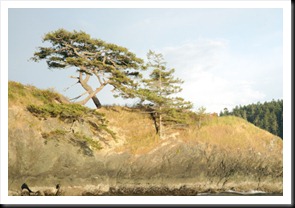
  2. After hiking around a bit I realized that I could get the tree against the sky if I went down on the beach and walked a little ways – next image.Coupville_1-5
  3. I then framed the shot using the boulder for some foreground interest given I had selected a wide angle lens to capture the sweeping beach leading to the tree.
  4. I wanted to capture the motion of the water so I added a variable ND filter to allow for the longer exposure (1.6 sec).
  5. The bad and good news was that now the beach was totally in the shade. To compensate for this I used a soft edge 2-stop ND on the sunlit tree and sky – feathering during the exposure.
  6. I then waited for a big enough wave to come in past the boulder and clicked the shutter as it started to recede.
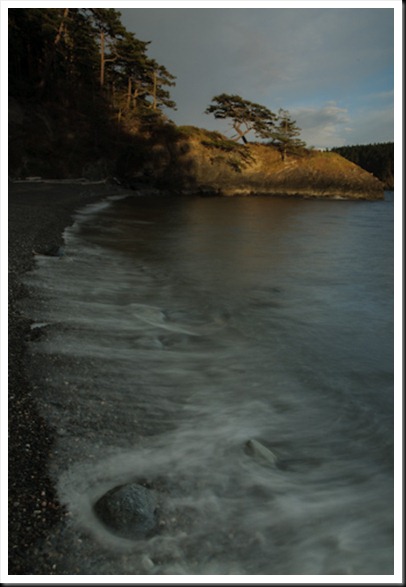
Coupville_1-3I waited to get more than one image , but the waves never came up that far again.

The post processing (or the performance):

  1. Once in Photoshop I first adjusted the levels.  The image was a bit under exposed as you can see. That is why I wanted another shot.
  2. I then used Nik Sof’t ColorEfx Pro "Contrast Color Range" to add some contrast.
  3. Then using Nik Viveza I lightened the upper left corner which was to dark due to the split ND.
  4. Given the beach was in the shade it was a bit blue and dingy so I used the "Warmth and Brilliance" filter to warm it up and brighten up the whites.
  5. To make the boulder pop, I again used a Viveza control point  (limited to the boulder) and boosted the brightness, contrast and saturation just a little bit.
  6. Finally to bring out the color in the sky I again selected it using a Viveza control point and increased the saturation slightly on the pink in the clouds.

Hope that is useful and sufficiently explained. Let me know if there are more questions.

Workshops – Follow-up

Stacey_5 

My workshop with Tony Sweet has come and gone. Overtime I will show many of the images from the workshop here in my blog. What did I learn? I think mostly a lot of small things that will come out in my images over time. For now here are my thoughts on workshops after going to this one (big sample so take this for what is worth):

  1. Know what you want to get out of the workshop. Tony noted that it was really up to each of us decide what that is. For me it was the opportunity to be taught directly by Tony and hopefully take my skills just another notch up.
  2. Workshops can be exhausting. Getting up for sunrise and shooting past sunset can disrupt your sleep a bit. If you are like me and can’t easily nap in the afternoon (or get anxious about not being able to sleep) it can start to take a toll. Meal times get moved around as well (if you get one) – bring lots of snacks. Good thing workshops are typically just a few days.
  3. A good chance to meet and hang out with other photographers. Getting to hang out with others who are obsessed like you can be interesting. Like myself they may stop mid sentence and say something like “look at the light over on that tree” and pick up where the left off without skipping a beat. You also get a chance to see how others see and shoot the same subject. This can broaden your vision.
  4. Workshops are like a photographic marathon. A chance to exercise all your photographic skills and techniques.  Or maybe like doing calisthenics were you exercise each muscle group. We went on 8-9 shoots so lots of opportunity to work (I am sure this varies workshop to workshop).
  5. As I have noted before, In order to see images when you are away from home you need to be practicing where you live. I think this applies to  workshops as well.

Stacey_6

I am sure there is a lot more I could write, but that will do for now. One difference from shooting around your area, at a workshop you need to stay out of the other photographer images;-) That is another story…

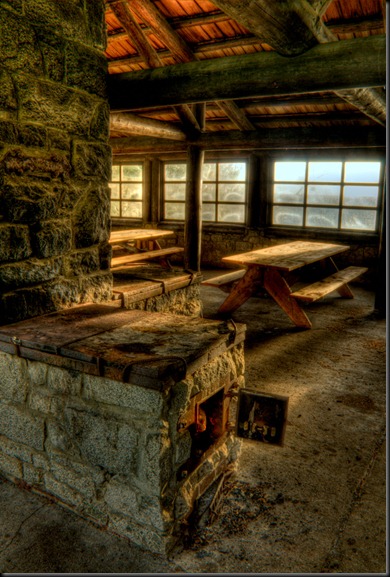
Blog images: An HDR image from the picnic area at Deception Pass State Park. We had a spectacular sunset shoot there. Next is an image from the Coupeville Pier – note this is not HDR just well balanced lighting.

Workshops

Bridge of Tranquility

In my time as a photographer, I have not attended a “photography workshop”; I have read a lot of books, watched videos,  taken colleges courses and attended online classes.  On top of that has just been a lot of hands on experience.

So why am I going to a workshop at this point? Well in this case the first reason is a chance to get hands on time with one of my favorite photographers, Tony Sweet. If you have never looked at has work, take time to peruse his blogs or website, www.tonysweet.com.  A second reason to go is to see how a workshop is run. I am teaching students now days and may want to run a workshop of my own in time.

I will be at this workshop for most of the week so I don’t know if I will get in another blog entry in during the workshop. I suspect I will be busy processing and shooting images. I will let you know how the workshop goes.

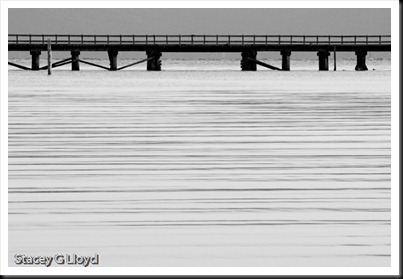
Blog Image: A tranquil scene of a trestle over calm water. The strong horizontal lines in the water is what caught my eye. This image has basically just been converted to B&W in Lightroom 2.

Engine 4449 – Before and After

Blog_20100509_1

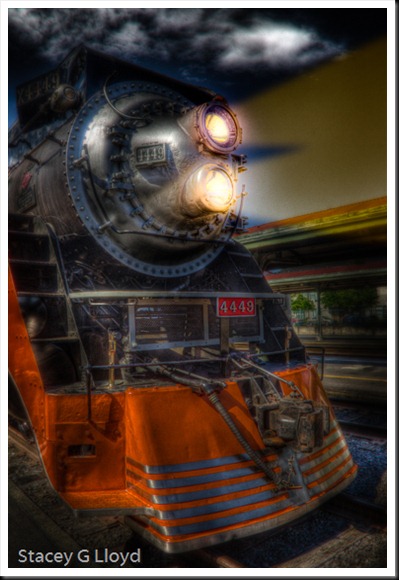
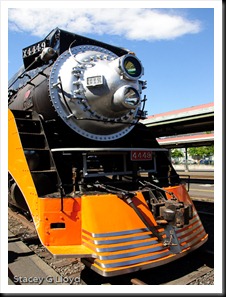
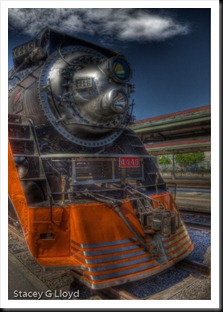
On national train day (May 9th) I went down to Portland’s Union Station with my wife to see the Daylight engine (#4449) out in the open. It was crowded and busy so I had to frame my shots carefully and often very tight to get rid of distractions. As time went on, things opened up a bit and I got this shot. I have taken it from daylight to “nightlight” using Photomatix, Nik Software and Photoshop CS5. Here are the basic steps.

  1. Blog_20100509_17 exposures at 1 stop apart (12mm lens) combined in Photomatix and processed dark and grungy – first image on left is one of 7 originals exposures. The second image on the left is the Photomatix output.
  2. Image opened in Photoshop and Blog_20100509_1-4the Nik Software ColorEfx Pro “Pro Contrast” filter applied.
  3. The Midnight filter from ColorEfx Pro was then brushed to  darken the image – from 60% opacity at the edges to 30% near and on parts of the train – next image on the left.
  4. The headlamps Blog_20100509_1-3were then lit up using Nik’s Viveza. Third image on left.
  5. A duplicate layer was created in Photoshop and the layered was lighted using Apply Image set to Screen. This layers color balance was then shifted to match the headlamp tones.
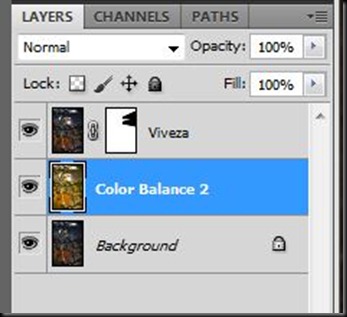
  6. The final step was to move the new layer (color balance 2)down (behind) the previous layer (Viveza), select the light beam shapes using the Polygon selection tool (twice additively), feather the edges (around 30-40) and create a hide selection mask. See the layer stack.

Headlamp mask

The final image is at the top of the blog. This was a pretty complex set of steps that a video would do wonders to explain, but until then hopefully this gives you some ideas of the process.

Sorbaria

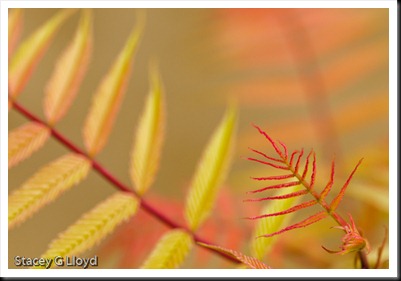
Blog_20100505_1What is sorbaria? It is a shrub native to the northwest woods. In spring it has the beautiful foliage you see here.  Later with will have white clusters of flowers.

 Blog_20100505_3

  Blog images:

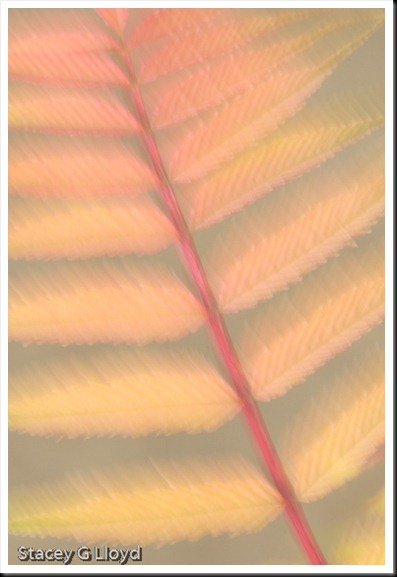
  1. An oblique swipe of one of the leave sprays with just a light touch of Nik Software’s ColorEfx Pro “Fog” to mute the color and add to the light airy aspect of the plant.
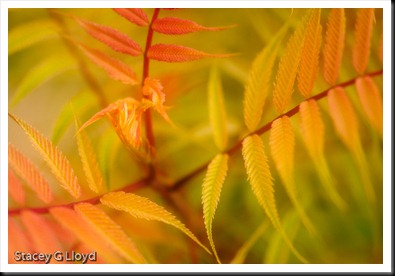
  2. An in camera overlay with one selective focus and one totally defocused. The Orton filter effect was then added in Photoshop.
  3. A simple straight shot showing a new leave spray echoed by two larger ones.

Blog_20100505_2

Backpacks and Camera Bags

Blog_20100430_1

I don’t know about you but I hate picking out backpacks and camera bags. Finding the one that exactly fits your needs or what you think you need seems more difficult than it should. Maybe its just me, but I suspect not. What makes me bring this up? Well I have been adding and upgrading equipment over the past year and my current packs just don’t hold what I need. So for what its worth here are my thoughts on the subject.

  1. You have the ask yourself how do I really use my packs? Do I hike for yards, miles or tens of miles? Do I hike to one location and shoot or shoot a lot along the way.
  2. How much gear do I really want to carry? What is the real minimum. I encourage you to load a pack up with what you think you want and try carrying it around a little – you may rethink your decision.
  3. Do I need multiple bags or packs? The answer is almost always yes. There will likely be at least one with what you use all the time and one with lens or such you use infrequently. You may also end up with a smaller pack and a bigger one.
  4. If you do need a pack that can hold a lot, get one with good back support. This is probably the most important factor when getting a large pack.
  5. If you go on even modest outdoor hikes 1-5 miles, make sure there is a way to carry water or food and a mini survival kit.
  6. Other questions you may need to ask are: Do I go out in the rain? Is security an issue? Do I use a laptop in the field? Can it hold my tripod?

There is not shortage of choices out there, but you will be surprised how that don’t make the one you had envisioned!

Early on I read one photographer’s notes on this topic and he noted that you will end up with an amazing number of bags and packs over the years – I think he said something about a closet full!

Blog Image: Shot this image here in my home town last week while working with a couple students. It was near sunset. The image was post processed with ColorEfx Pro using the Color Contrast filter and then through SilverEfx Pro with high structure, a red filter and a little vignette.

More B&W Foliage

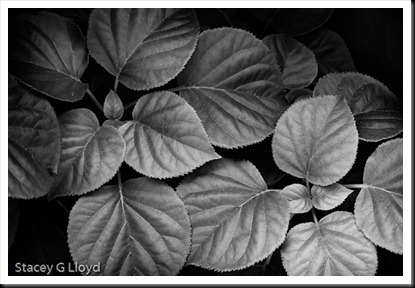
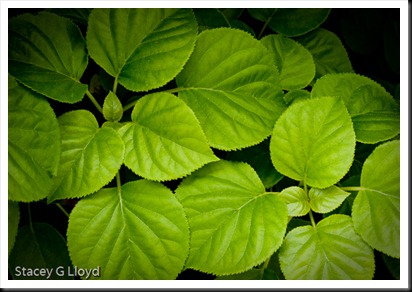
I have continued to shoot more spring foliage with B&W in mind.  As before, I find both the color and B&W images quite nice. Which do you like best? Color or B&W.

Climbing HydrangeaBlog_20100424_1-2Blog_20100424_1 

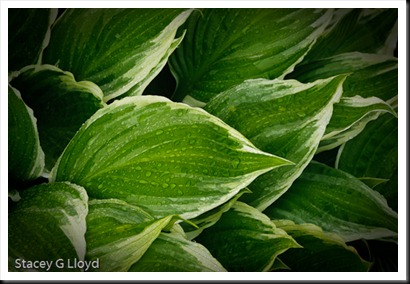
Variegated HostaBlog_20100425_2Blog_20100425_1

The B&W images were created using SIlverEfx Pro from Nik Software. As before I added a bit of structure, used the red filter and added a bit of a vignette.

Both the plants are in my yard.

Watercolor Orchard – Before and After

Blog_20090424_1

I decided I would go through another before and after image creation. Looking at the opening image, I am not sure that it really shows off the effect because of the image size.  But I will share it anyway. This is a software approach inspired by an in camera technique used by Freeman Patterson.

Blog_20090424_1-4This is our starting point. A richly saturated  HDR composite image created with Photomatix. This doesn’t have to be an HDR image, but saturated colors are good.

Blog_20090424_1-2After opening up the original image in Photoshop I created a duplicate layer and using “Apply image” with a “Screne” lightened it up and then applied the “Gaussian blur” filter with about 30% blur. The blue sky had faded too much so I brought it back a bit using Nik Software’s Viveza (reducing the sky brightness a bit) This is the resulting image so far.

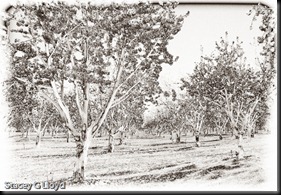
Blog_20090424_1-3Using the original image I created another later using SIlverEfx Pro. I applied the “Antique Solarization” preset to create the image you see here.

Lastly I stacked the “solarization” layer on top of the “Blur” layer and changed the layer mode for the “solarization” layer to “Overlay”. I then adjusted the opacity to taste – ~35% in this case. The result is the opening image.

Any questions?

B&W Naturally

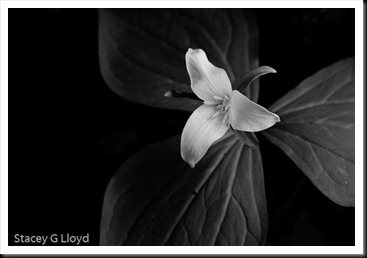
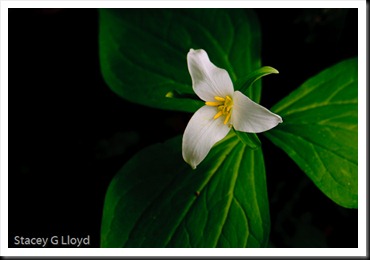
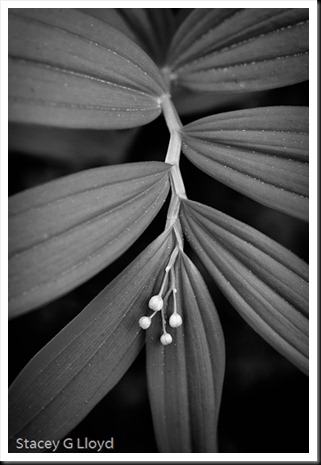
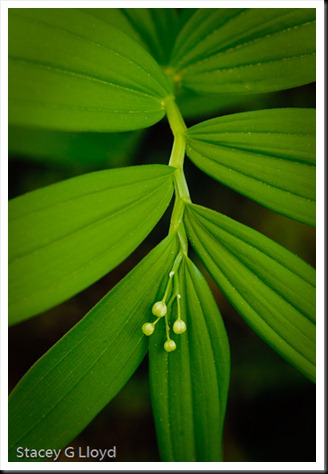
I have started looking at some of my foliage images as candidates for black and white conversion.  I find in the end I like both. What do you think?

Trillium.

Blog_20100419_1-2 Blog_20100419_1-3

False Solomon’s shield.

 Blog_20100419_1-5 Blog_20100419_2


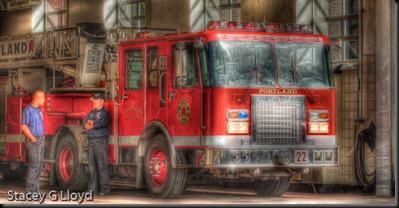
Station 22 in HDR

Blog_20100412_1

As I have written in some of my earlier blogs, one of the great things about doing photography is the people we meet. A couple days ago I went on a photography club shoot in the St John’s area of Portland. Being out fairly early on a weekend morning I had the opportunity to meet with the local police and fire department personnel – all very nice people. The guys at Station 22 offered to pose for this picture. I had them hold still  for this multi-shot HDR image. Their presence gives the image a nice touch. Thanks guys! Hope you catch this blog entry. I told you the image would be a bit different. If I am out your way down the line I’ll try to bring you a print.

Earlier that morning I met a local police officer as I was shooting the old police station. He used to work there and missed the old place. It made him a bit sentimental so he said he had to suck it up before he got back on patrol;-) It is a great old building.

Blog_20100412_3  Images:

  1. Shot for HDR. Double processed with my grunge settings in Photomatix. The lights were lit up using NikSoft’’s Viveza (small u-point point set to full brightness, full contrast, full warmth and minus a little blue). The engine grill and firemen were  brought out a little using Viveza as well.
  2. Shot for HDR from ground level with a 12mm wide angle zoom lens. Double processed with my grunge settings in Photomatix. ColorEfx Pro Midnight filter brushed around the building like a wide vignette in Photoshop. The lights were lit up using NikSoft’’s Viveza as for the first image.