Category Archives: How To

How to technical article

Botany Bay Plantation Boneyard

1 Blog T 2

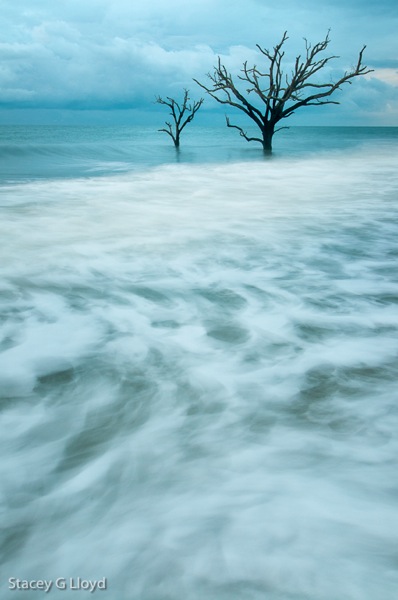
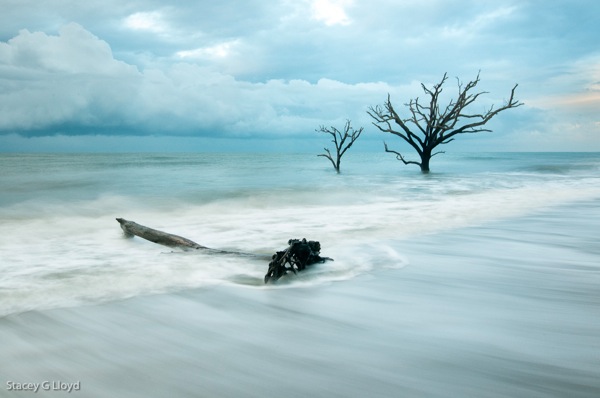
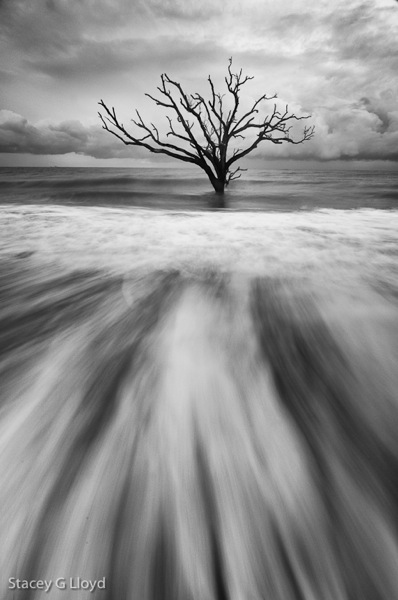
Ever since I saw Tony Sweet’s images of the boneyard off Edisto Island in South Carolina I have wanted to do a sunrise shoot there. A boneyard in this case is a place where there are dead trees along the beach with some standing in the ocean during high tide (due to erosion of the coastline). They are great for creating simple minimalist images – especially at long shutter speeds (several seconds). It turned out that clouds moved in during the night and I didn’t get the sunrise colors I had hoped for, but it still worked out quite well – there were nice dramatic blue-grey clouds.
 1 Blog T 3

Here are a few pointers on shooting this type of image:

  1. To minimize the texture of the water, use long exposures. 
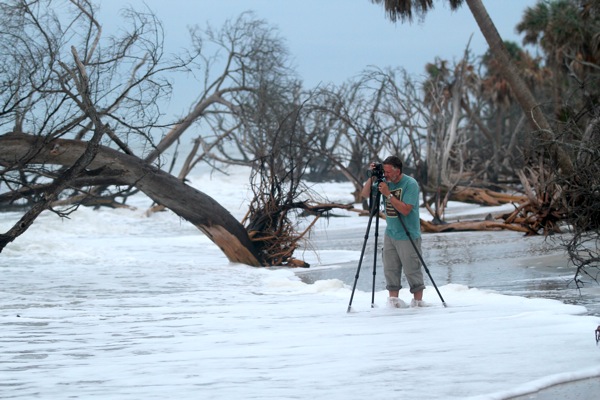
  2. Your tripod will be in the water so make sure it can handle the salt water and sand. My carbon fiber tripod (Gitzo) does quite well. Just rinse it with tap water afterwards and clean as necessary.
  3. Waves will tend to undercut your tripod legs and move the camera during the exposures. To minimize this, let a couple waves come and go before exposing (adjust your framing as necessary) – this lets the legs get somewhat settled into the sand.
  4. Shoot several exposures to get one sharp one.
  5. To create lines moving into the image, wait for the wave to reach its furthest point up the beach before opening the shutter. 
  6. Use a wide angle lens to accentuate the lines created by the receding waves (see the third blog image below).
  7. Collisions between incoming and outgoing waves can create interesting patterns (see the opening blog image).
  8. Try several exposure lengths to get the effect you desire.
  9. Notice where the white water stops. This will create a strong tonal line in your image. Make it work for you in the composition – use it diagonally (as shown above) or place straight at a 1/3 frame line as shown below.
1 Blog T

This last image was take by another photographer I met that morning, Stephan Frasier. It gives you a clear overall image of the shooting situation.
 Stacy 7025

Also posted in Composition Tagged , , , , , |

Still Life Light Painting – How To


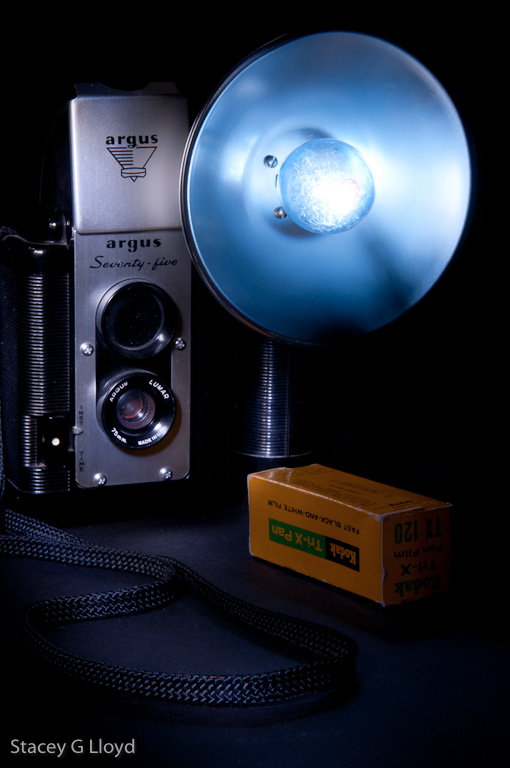
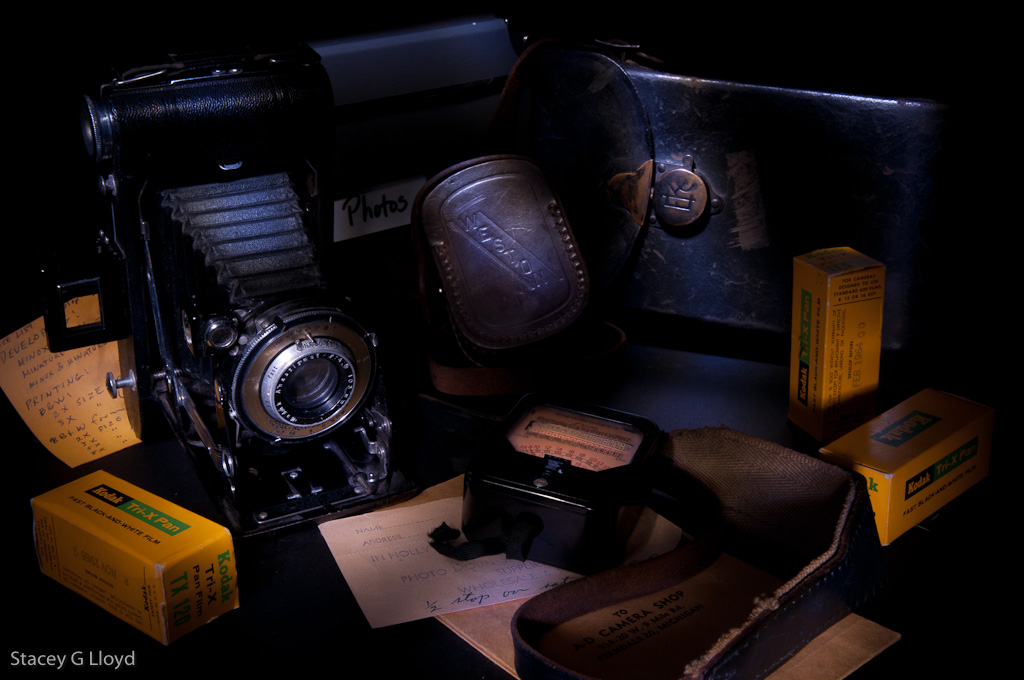
I have continued to explore and experiment with new techniques during the winter months. Light painting has become somewhat popular with landscape images and is used by s0me commercial photographers for product lighting. Light painting involves taking long exposure images while the photographer (and/or assistants) use flashes or flashlights to "paint" the landscape or still life arrangements. I have included a couple of samples from my experimentation in this blog. As you can see, very dramatic and what appears to be complicated light setups can be created this way. I happen to have a collection of old cameras and the associated gear so I have been using that for my subject matter.

I learned this technique from Dave Black who is a master of lighting (I highly recommend you take a look at this work – very nice). I have outlined the basic steps below. It is hard to describe all the nuances without showing the technique on a video.

  1. Setup your still life arrangement in a very dark room.  (Test if your room is dark enough. Take a 30sec exposure at f8. If it comes out completely black, you are good.)
  2. Setup your camera on a tripod and frame your composition.
  3. Setup the camera for a 20-30sec exposure (at least as a start) and turn on noise reduction in your camera. Set the f-stop based on your desired depth of field.
  4. You will want a couple of flashlights- a penlight and a larger flashlight (LED ones work well). Make a black plastic snoot (tube made from black tape or such) so the bulb is not visible from the side. Your flashlight is likely get in the frame and you don’t want to see it.
  5. Turn off the lights and use a flashlight  to paint on your still life. Always keep your flashlight moving. Use the penlight to highlight where you want to draw the viewer’s eye. Use the larger flashlight briefly if needed to "dust" the setup with light, keeping it moving.
  6. This will be an incremental process and it will likely take lots of trial and error. Start by just painting a small area at first to see how much light is needed.  View the results, adjust the light as needed and add another area. Personally, I count as I paint each area and try to follow the same basic sequence to get some repeatability.
This technique requires some patience, but it can be fun as you let your creative juices flow to come up with very unique lighting.
Also posted in Composition, Light, Photographers

More Flypaper Texture Overlays

Blog_20100304_2

Life is keeping me busy right now so before I continuing with the next installment on composition, I thought I would share some more images I have created lately using Flypaper Textures.

Blog_20110313_1

As you can see texture overlays work on a wide variety of subjects. Here are a couple quick observations:

  1. Subjects with subtle or non-cluttered backgrounds tend to work best.
  2. Try multiple textures on an image to see what works best.
  3. Try several of the Photoshop layer blending modes. I use multiply and soft light the most (so far).
  4. Vary the opacity of the blending modes.
  5. Apply multiple textures to a single image.
  6. Use masks to vary intensity of texture in areas of the image. Having minimal (to no) texture on the key focal points tends to work well.

Blog_20100621_1

Have fun!

Also posted in Texture Overlay

Leaf Recycling

Blog_20111114_1-4

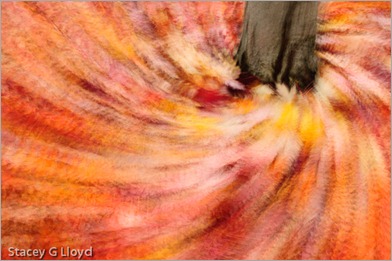
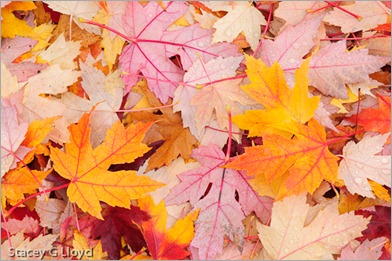
Even though the leaves may all be on the ground, you can still have fun creating great images of fall color. Just look at the ground. I went out and did just that Sunday morning. One of the final images is shown above. I started the morning practicing some creative camera techniques. Below is a sequence of images that set the stage for that above. The sequence started with a simple shot of the leaves on the ground (more on that in the next blog).

Blog_20111114_1-8

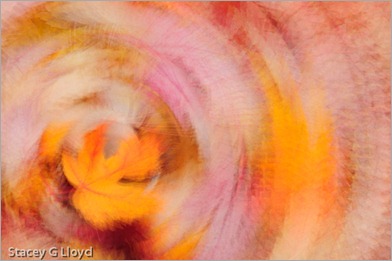
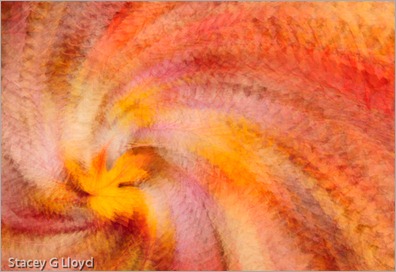
First I captured a “simple” off center 9 exposure rotational image. To do this you keep a point in the viewfinder (pick one of the focus markers in your camera’s viewfinder) set on a single point on the subject (the leaf) and rotate the camera slightly as you click off the exposures. With a Nikon camera you can setup it up for multiple exposures to be blended automatically in the camera; with other camera’s you may have to blend them in Photoshop.

Blog_20111114_1-7

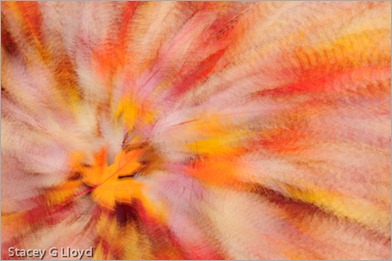
Next I captured a 9 exposure zoom image. Keeping the focal point on the leaf at the same point as I slowly zoomed and clicked off the exposures. Notice there was a slight camera rotation as well. I reduced the focal length to get more leaves into the image.

Blog_20111114_1-5

Putting these two techniques together you can end up with an off center rotational zoom image like that below. Hold onto the zoom ring as you rotate the camera to do this most readily.

Blog_20111114_1-2

I then applied this same technique to the base of the tree from which all these leaves had fallen (the opening blog image). It appears the tree is drawing in all of the leaves and sucking them down into the tree’s base. This is what ultimately happens in the forest as the leaves decay and feed the tree, but not quite so dramatically. The tree is recycling…

Fall Color and Textures

Blog_20111104_1-4

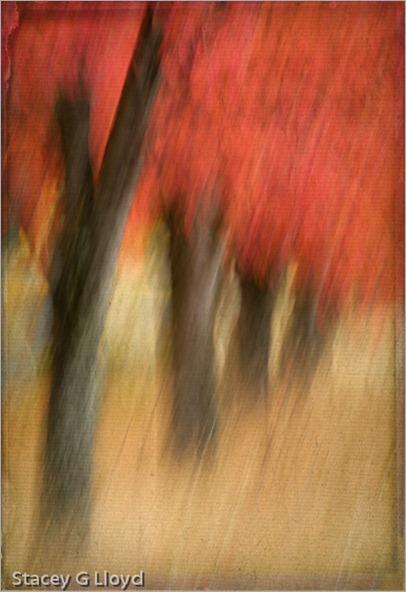
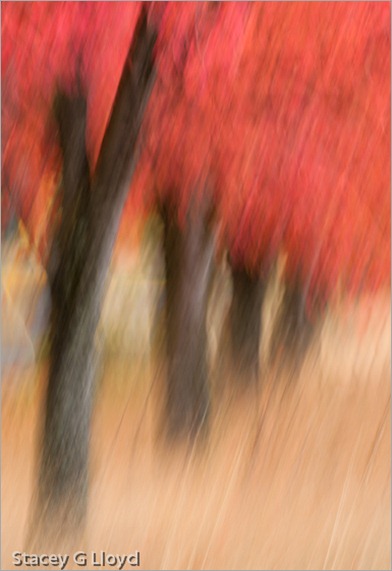
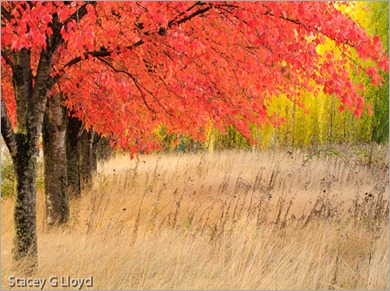
It is hard to believe that fall has come and almost gone. This past year has gone so quickly. I not only love the bright colors of fall, but all the various shades of brown the grasses and plant take on. As always, I try different techniques on any good subject I find. This row of maple trees in an abandoned business park is one example. The opening blog image was created from a swipe (1/4 sec) that then had two texture overlay layers added. Both textures are Flypaper textures. Shown below is the swipe without the added texture layers.

Blog_20111104_1

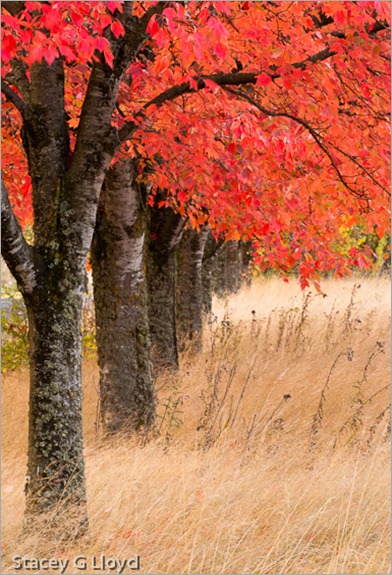
The third image is the scene shot straight at f22 for maximum depth of field.

Blog_20111104_1-3

The final image is a landscape format capture of the scene that brings in more of the green in the distance trees. Shooting both landscape and portrait orientations of a subject is always a good idea; that gives you more options for possible publication or stock image use. I find I like each of these images for different reasons. Which do you like best?

Blog_20111104_1-2

Also posted in Texture Overlay, Uncategorized

Flypaper Textures

Blog_20100730_1-2

In the past couple of years, the use of “texture overlays” has become quite popular (see Flickr).  Personally they appeal to me because of the painterly quality added to an image. Up until now I have only used textures that I have captured. Typically I have grabbed the texture on location (a close-up of a building’s texture for overlay on other images of the building). However, I have seen some beautiful images from Tony Sweet, John Barclay and others that use prepackaged texture images from “Flypaper Textures”. They offer several differ sets of textures which can be purchased. The quality of these textures is excellent and multiple textures can be applied to an image to make it unique. I highly recommend them.

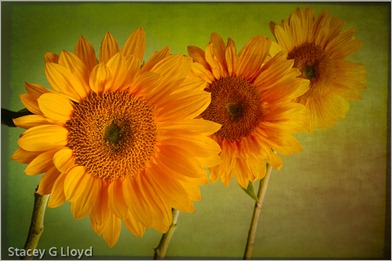
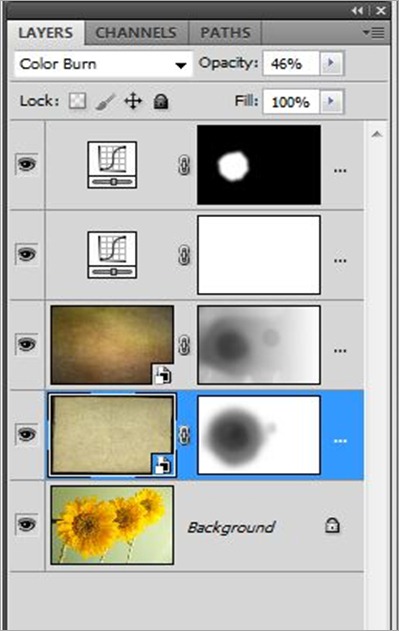
Textures can be overlaid with an image using various tools, but the most common is simply using a layer stack in Photoshop as shown below. For the sunflower image I used two different Flypaper textures. First I added the “Antiquity Scroll” texture from the Flypaper Texture Box Two collection. I blended it with the primary image using the Color Burn mode at 46% opacity to get the look I wanted. Next I added a mask to that layer and removed most of the texture from the first sunflower. Secondly I added the “Muscatel” texture from that same collection. I blended this second texture using the Multiply mode at 100% opacity.  Again I added a mask  and removed most of the texture from the left most sunflower and some from the center flower. Third, I performed an overall curves adjustment to the stack; the image was a bit dark and low in contrast. Finally, I enhanced the contrast of the left most sunflowers center using selective application of a curves layer.

How do you know what textures to use or which blending mode to use? Basically you need to experiment. Try different textures, opacities, blending modes and masks. There are also several tutorial blog entries on the Flypaper Texture Blog.

PS Layer Stack

Also posted in Texture Overlay

Texture Overlay

Blog_20110922_1-5

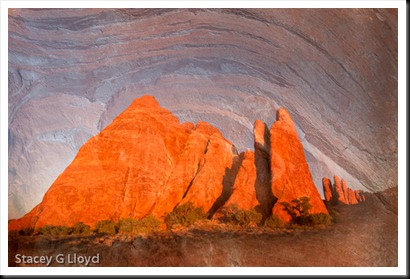
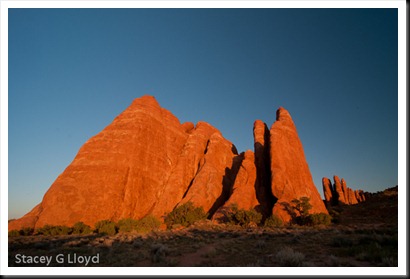
When I am out in the field shooting, I try to remember to capture close ups as well as the big picture; get that nitty gritty detail. These close-ups can come in handy later for creating what are known as texture overlays. The image here is a blend of two images taken on my recent outing in Colorado and Utah. The rock structure shown below was taken at Arches National Park at sunset.

Blog_20110922_1-2

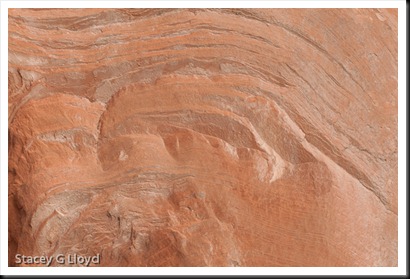
The close-up texture was taken in the Colorado National Monument. It is shown below.

Blog_20110922_1-3

As I was reviewing the images I noticed the similarity in the contours. One thing I should mention about shooting the texture image: I try to be conscience of the composition formed by the lines or key elements in the texture (often using the rule of thirds). I try to apply the same vision to the composition as I would for any other image.  I find that my texture images often work well with my other images as a result (common eye).

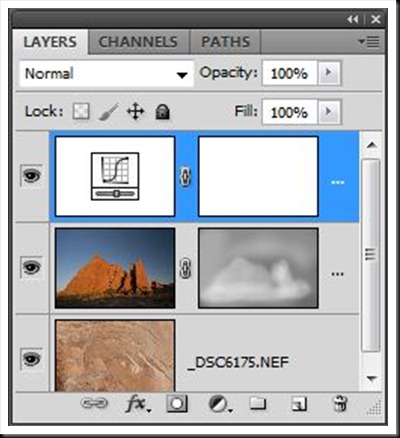
The final image is created by blending the two originals together in Photoshop using a mask layer shaded to taste by using a pen tablet. See the screen capture below. As shown, a curve adjustment was used as well to get the desired contrast in the final image.

Layers

Also posted in Texture Overlay

Fun with the Sprinklers

Blog_20110627_1-3

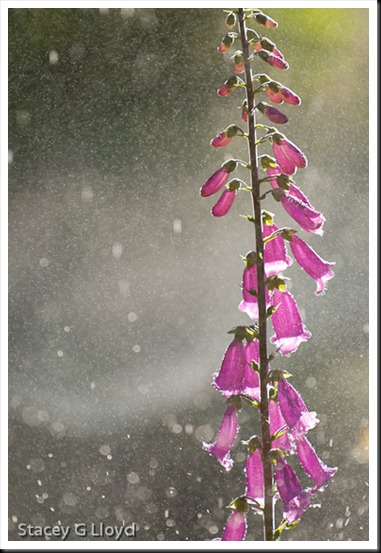
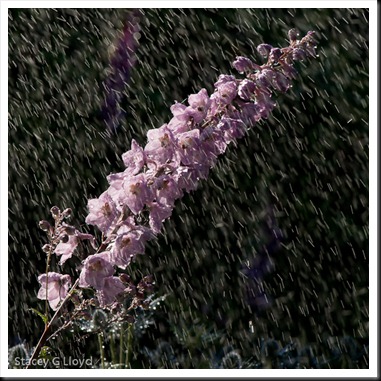
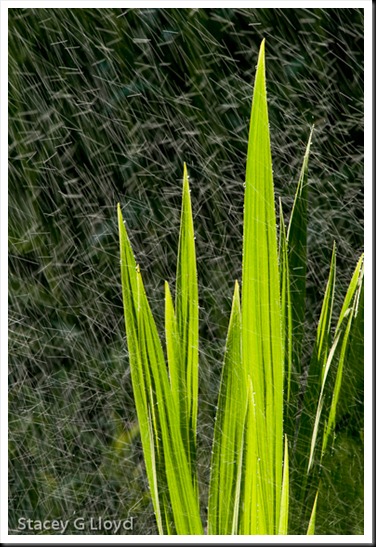
Remember the hot days of summer when you used to run around in the sprinklers? Well you can still have fun with the sprinklers, but in a different way. As I was testing out the sprinklers early one morning last week, I noticed an array of beautiful images just waiting to be captured – this blog contains a few of them.

Blog_20110627_1-4

I used a Nikon 70-200mm lens with a 1.4x extender to reach in and get the images without getting wet. I was generally shooting with backlight so I had to set the EV to –1.3 to –2.0 (typical for backlit situations). I kept the depth of field shallow for the first image to remove background clutter. Notice the difference in the look of the water droplets between it and the next two which had a bit smaller aperture (more depth of field).  Try different shutter speeds to change the appearance of the droplets in the air. The first two images were shot at 1/320sec and the last at 1/100sec.

Blog_20110627_1-5

Golden Portal

Golden Portal

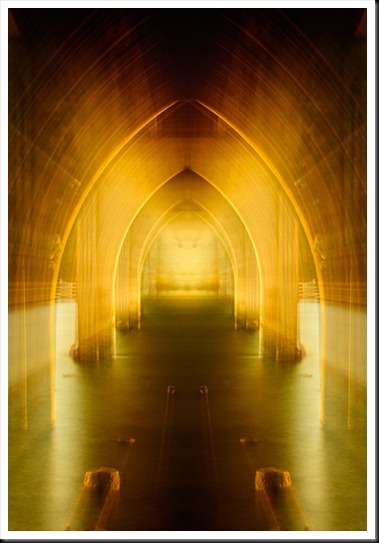
Ever been to a place you know has been photographed a million times before and you are looking for a way to do something new?   That was the case when I shot this classic image under the Siuslaw Bridge in Florence, Oregon. While I caught it at a nice tide level and at sunset, I wanted more than the classical image (I still shot that though). Applying a technique I learned from Tony Sweet when shooting under a pier, I put on the vari-ND and set up the tripod. This exposure was 25 sec. After about 10-15 seconds, I slowly zoomed in on the image for the rest of the exposure. This allows for the arches to be very distinct and transparent at the same time. When during post processing I found that the image felt unbalanced (because of the lighting from one side) I decided to apply a “Dreamscape” mirror. (See my video on this by clicking here for more on that) This made it balanced and enhanced the surreal feel of the image.

Also posted in Uncategorized

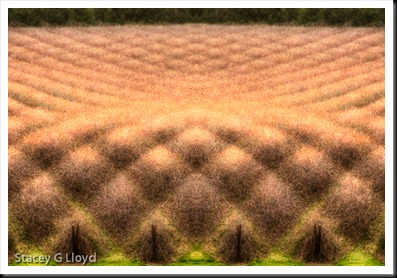
Dreamscapes

g

I recently purchased Andre’ Gallants’ book “Dreamscapes”. Andre is a protégé of Freeman Patterson and his book contains a set of wonderful images he created based on overlaying different images. If you are looking for some new inspiration I highly recommend it.

I have included a couple images inspired by this book.

Blog_20100124_1

Blog_20100819_1

Blog images:

  1. This one is very much a vertical mimic of the cover shot of the book. Just the first thing that popped to mind.
  2. A different kind of mirror image. One in which the image is copied mirrored and overlaid completely on the first.
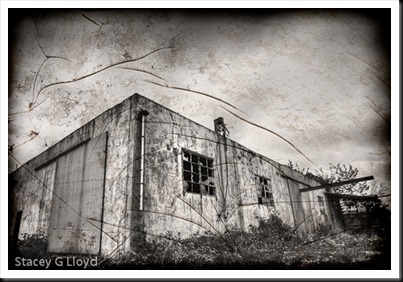
  3. This is an overlay of one image of a building with a close-up of the building’s texture. These texture overlays are popular today but have been around quite a while.
Also posted in Uncategorized