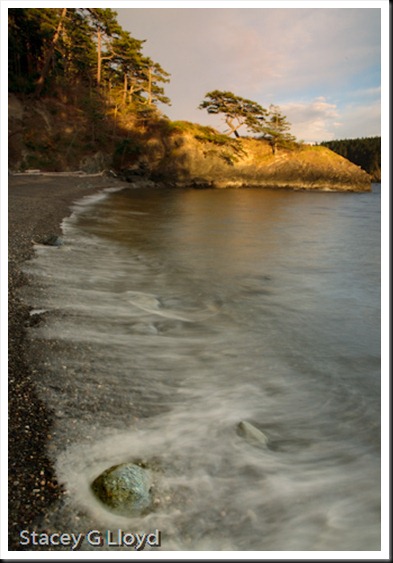
I have been asked a couple of times now about one of the images I created at the recent Tony Sweet workshop I attended – the image you see above. I decided this would make for a good "Before and After" blog entry so here it goes.
For this image I really need to address the shoot as well as the post processing.
The shoot (or creating the score):
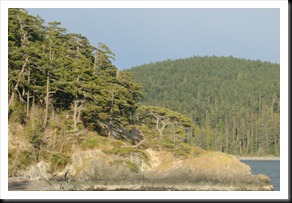
- I spotted the interesting tree from a distance but the tree was not separated well from its background as shown here.

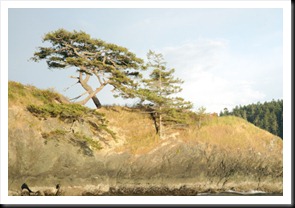
- After hiking around a bit I realized that I could get the tree against the sky if I went down on the beach and walked a little ways – next image.

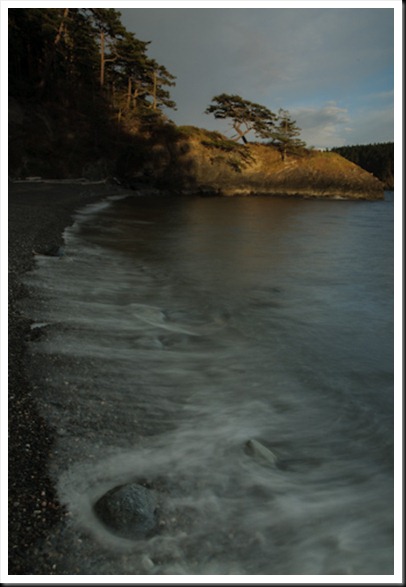
- I then framed the shot using the boulder for some foreground interest given I had selected a wide angle lens to capture the sweeping beach leading to the tree.
- I wanted to capture the motion of the water so I added a variable ND filter to allow for the longer exposure (1.6 sec).
- The bad and good news was that now the beach was totally in the shade. To compensate for this I used a soft edge 2-stop ND on the sunlit tree and sky – feathering during the exposure.
- I then waited for a big enough wave to come in past the boulder and clicked the shutter as it started to recede.
 I waited to get more than one image , but the waves never came up that far again.
The post processing (or the performance):
- Once in Photoshop I first adjusted the levels. The image was a bit under exposed as you can see. That is why I wanted another shot.
- I then used Nik Sof’t ColorEfx Pro "Contrast Color Range" to add some contrast.
- Then using Nik Viveza I lightened the upper left corner which was to dark due to the split ND.
- Given the beach was in the shade it was a bit blue and dingy so I used the "Warmth and Brilliance" filter to warm it up and brighten up the whites.
- To make the boulder pop, I again used a Viveza control point (limited to the boulder) and boosted the brightness, contrast and saturation just a little bit.
- Finally to bring out the color in the sky I again selected it using a Viveza control point and increased the saturation slightly on the pink in the clouds.
Hope that is useful and sufficiently explained. Let me know if there are more questions.


