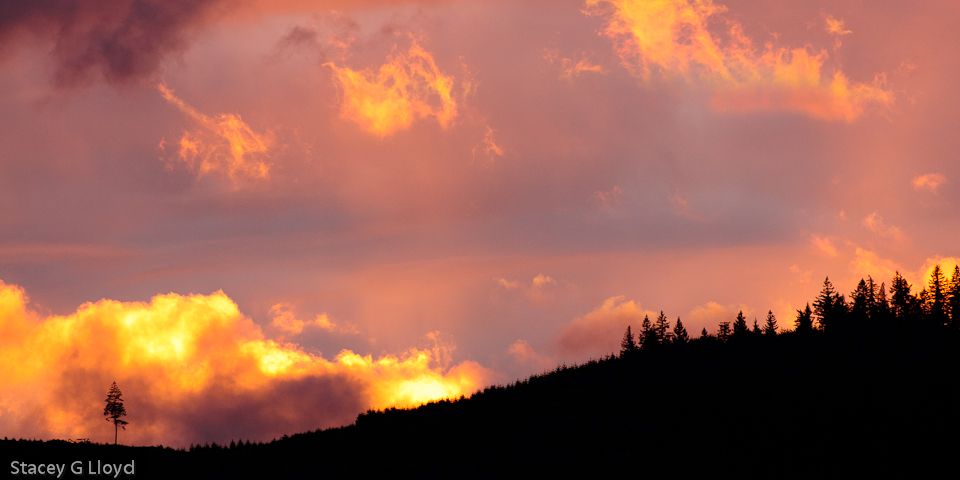
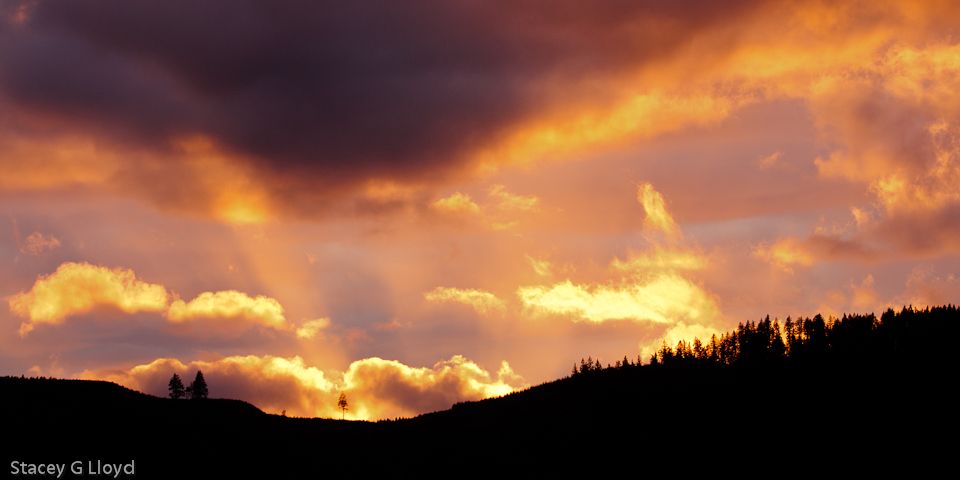
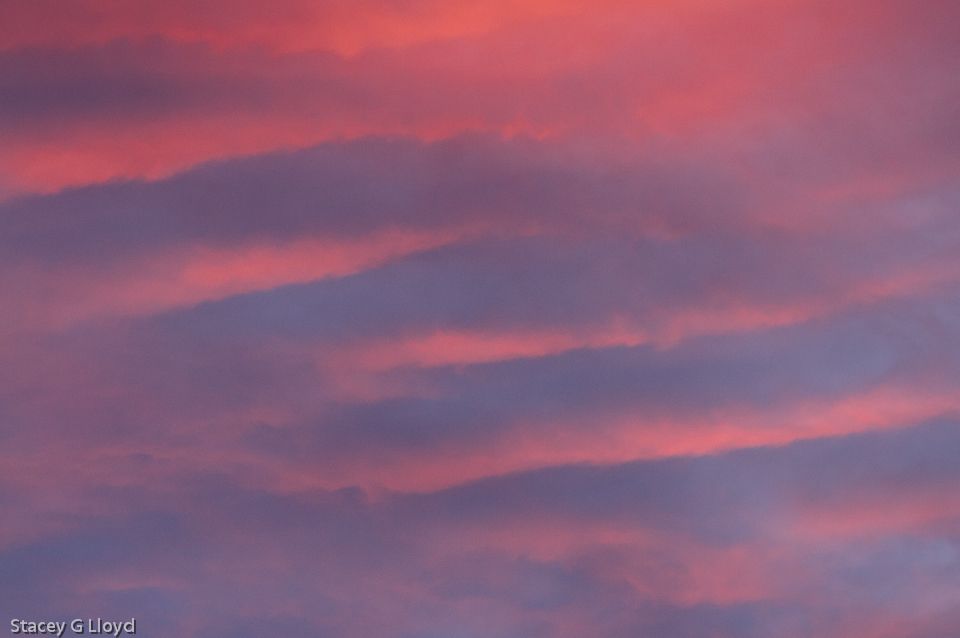
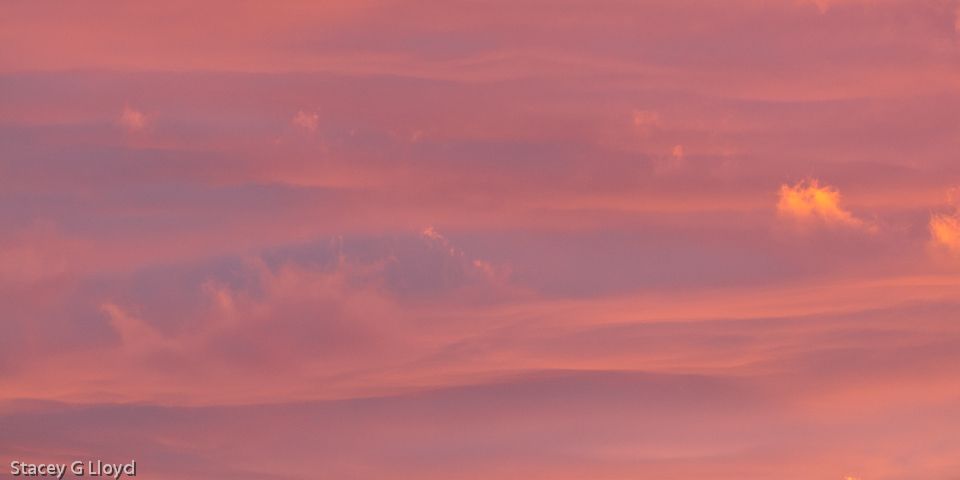
While observing the light around you, it is always good to keep an eye out for shadows. Maybe it is the middle of a bright sunny day and it is not so good for capturing what you had in mind. Look around, there may be something fun in the shadows. The two stairway shots here were the last images I captured on an outing to a sewage pump station (more on that at a later date). As we headed for the stairs to exit, I saw these fun shadows and stopped to work with them a bit. As always, I try to look for both horizontal and vertical framing compositions. Sometimes a subject can lend itself well to both.
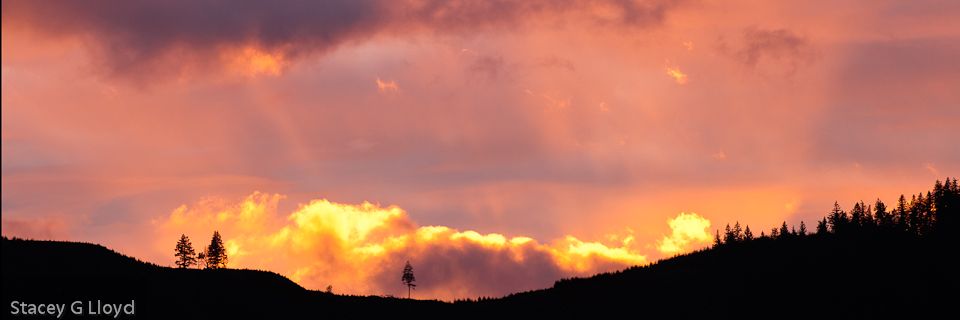
The images were processed with Nik’s SilverEfx Pro.The edges were burned (darkened) to keep the viewers eyes in the frame. I used local adjustment points to selectively lighten/darken and add contrast to specific areas of the images – areas where I wanted to draw the viewers eye.