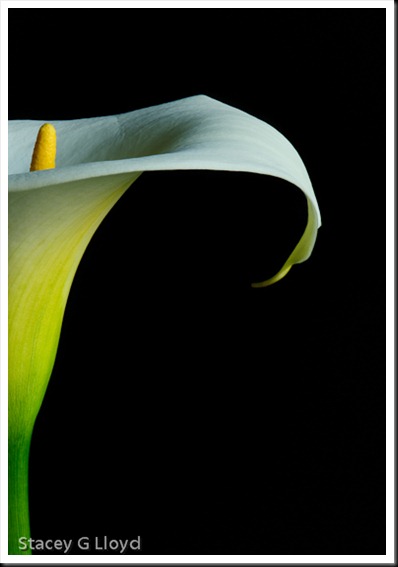
Here is another example of keeping things simple. This image is all about the light and composition. Even the depth of field is simple – everything is in focus, front to back. But there is the rub. Keeping all of this in focus was not simple. This close up was shot with a 105mm macro lens at f32 but that did not keep everything in sharp focus. To get things sharp from front to back I had to take three exposures with the focal point different for each one: front edge, stamen and back interior. Fortunately there are great tools like Photoshop CS5 that allow you to align and blend three images with just a couple mouse clicks.
Here is how you do that:
- Import your set of exposures as separate layers in Photoshop.
- Select all of the layers.
- On the Edit pull down menu select Auto-Align Layers.
- In the Auto-Align popup box select “Perspective” and click OK.
- When that is done go back up to the Edit menu and select Auto-Blend Layers… and select “Stack Images” in the popup box. Click OK.
- At this point you should have a nicely blended image with only the sharp focus section of each exposure used.
- If there are some artifacts or errors on Photoshop’s part, you can go in and touch up the Mask layers, created by Photoshop, with a brush as needed.
- Flatten out the layers and you are done.
- Now wasn’t that simple?


