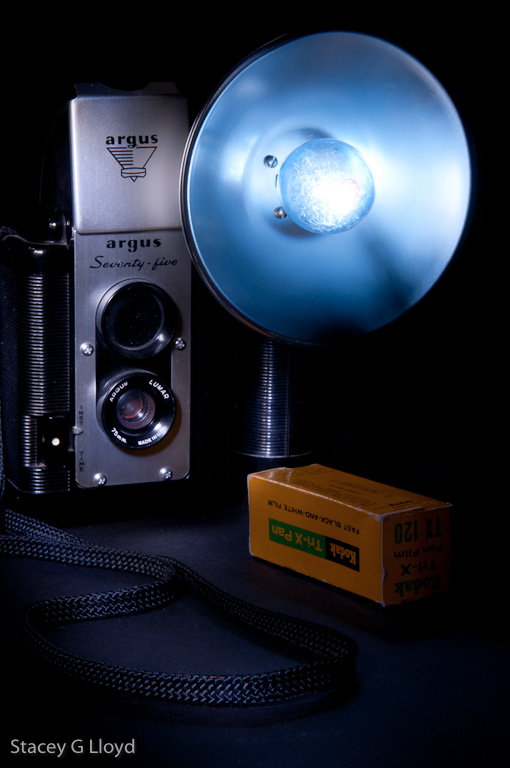
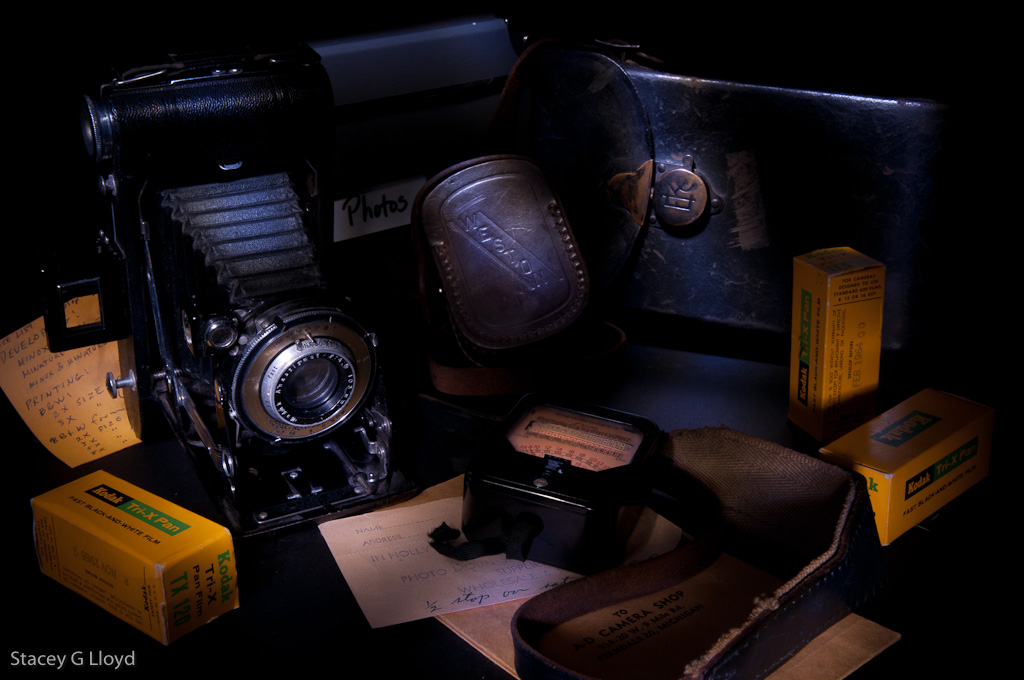
I have continued to explore and experiment with new techniques during the winter months. Light painting has become somewhat popular with landscape images and is used by s0me commercial photographers for product lighting. Light painting involves taking long exposure images while the photographer (and/or assistants) use flashes or flashlights to "paint" the landscape or still life arrangements. I have included a couple of samples from my experimentation in this blog. As you can see, very dramatic and what appears to be complicated light setups can be created this way. I happen to have a collection of old cameras and the associated gear so I have been using that for my subject matter.
I learned this technique from Dave Black who is a master of lighting (I highly recommend you take a look at this work – very nice). I have outlined the basic steps below. It is hard to describe all the nuances without showing the technique on a video.
- Setup your still life arrangement in a very dark room. (Test if your room is dark enough. Take a 30sec exposure at f8. If it comes out completely black, you are good.)
- Setup your camera on a tripod and frame your composition.
- Setup the camera for a 20-30sec exposure (at least as a start) and turn on noise reduction in your camera. Set the f-stop based on your desired depth of field.
- You will want a couple of flashlights- a penlight and a larger flashlight (LED ones work well). Make a black plastic snoot (tube made from black tape or such) so the bulb is not visible from the side. Your flashlight is likely get in the frame and you don’t want to see it.
- Turn off the lights and use a flashlight to paint on your still life. Always keep your flashlight moving. Use the penlight to highlight where you want to draw the viewer’s eye. Use the larger flashlight briefly if needed to "dust" the setup with light, keeping it moving.
- This will be an incremental process and it will likely take lots of trial and error. Start by just painting a small area at first to see how much light is needed. View the results, adjust the light as needed and add another area. Personally, I count as I paint each area and try to follow the same basic sequence to get some repeatability.


