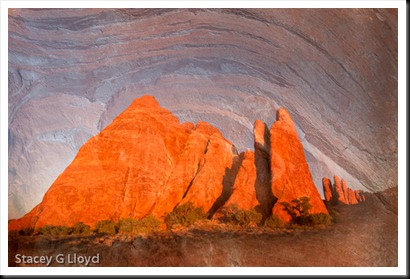
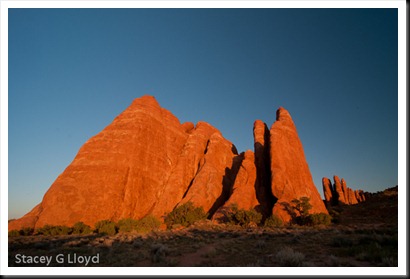
When I am out in the field shooting, I try to remember to capture close ups as well as the big picture; get that nitty gritty detail. These close-ups can come in handy later for creating what are known as texture overlays. The image here is a blend of two images taken on my recent outing in Colorado and Utah. The rock structure shown below was taken at Arches National Park at sunset.
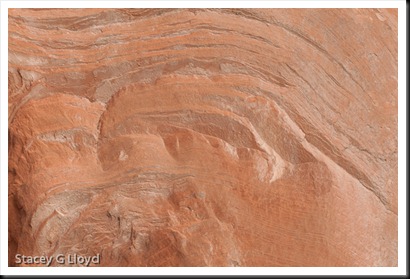
The close-up texture was taken in the Colorado National Monument. It is shown below.
As I was reviewing the images I noticed the similarity in the contours. One thing I should mention about shooting the texture image: I try to be conscience of the composition formed by the lines or key elements in the texture (often using the rule of thirds). I try to apply the same vision to the composition as I would for any other image. I find that my texture images often work well with my other images as a result (common eye).
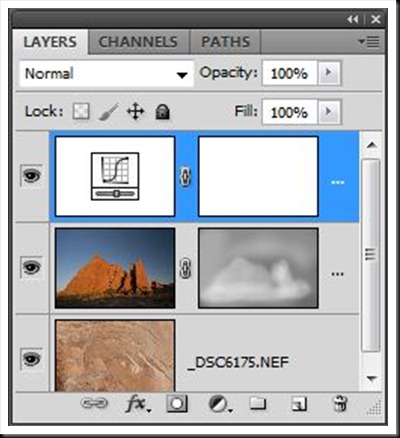
The final image is created by blending the two originals together in Photoshop using a mask layer shaded to taste by using a pen tablet. See the screen capture below. As shown, a curve adjustment was used as well to get the desired contrast in the final image.


