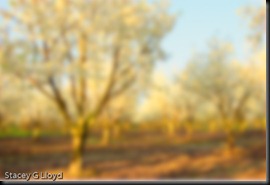
I decided I would go through another before and after image creation. Looking at the opening image, I am not sure that it really shows off the effect because of the image size. But I will share it anyway. This is a software approach inspired by an in camera technique used by Freeman Patterson.
 This is our starting point. A richly saturated HDR composite image created with Photomatix. This doesn’t have to be an HDR image, but saturated colors are good.
 After opening up the original image in Photoshop I created a duplicate layer and using “Apply image” with a “Screne” lightened it up and then applied the “Gaussian blur” filter with about 30% blur. The blue sky had faded too much so I brought it back a bit using Nik Software’s Viveza (reducing the sky brightness a bit) This is the resulting image so far.
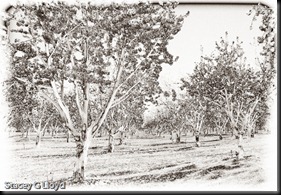
 Using the original image I created another later using SIlverEfx Pro. I applied the “Antique Solarization” preset to create the image you see here.
Lastly I stacked the “solarization” layer on top of the “Blur” layer and changed the layer mode for the “solarization” layer to “Overlay”. I then adjusted the opacity to taste – ~35% in this case. The result is the opening image.
Any questions?


