I have been ill for a few days so I haven’t been out shooting to my dismay, but I did get to play with one of the orchard images I shot last week. I thought I would share not only the final image, but the images along the way to the final one.
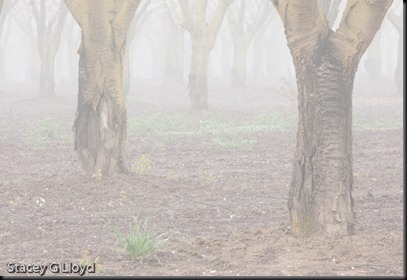
Below is the original image (RAW) – the before. I made this shot with B&W in mind. As you can see the colors don’t add much. I also wanted a composition that walked the view back into the trees but not in a straight line – more like stepping stones.

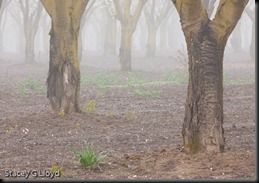
First I opened the original image up in Photoshop and opened NikSoft’s ColorEfx Pro filter plug-in and applied the Color Contrast Range filter to better bring out the color. This results in a better B&W conversion.
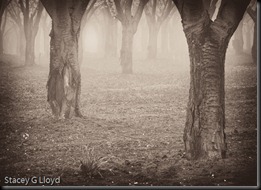
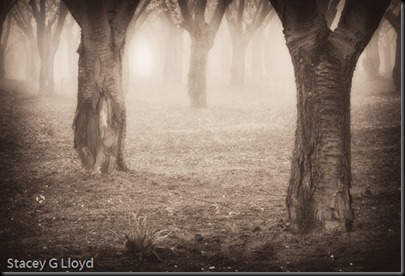
 Next I opened the image in SilverEfx Pro and applied the “Antique Plate I” preset. I then made a couple minor tweaks of the edge burn settings to my taste. Once back in Photoshop I did some clean up and a little dodging to put the brightest point in the upper left/center area of the orchard.
The final step was opening the image up again in ColorEfx Pro and applying the Glamour Glow to add more mystery and moodiness to get the final image I imagined (see the top blog image) – the after.
If you would like to see more Before and After blog entries let me know. In addition, is the level of detail sufficient or would you like to see more?


One Comment
Hi Stacey,
I really like your image – this is the same sort of thing I search for. Your process to get to the final image is very informative and interesting and your level of detail is just right (for me, at least).