
One of the image techniques I enjoy the most is moving the camera while shooting with slow shutter speeds. Typically one would use a pan when trying to track a subject moving relatively fast against a stationary background. This is often used with sports photography and blurs the background (creating a sense of speed) while keeping the subject relatively sharp.

Alternatively panned or swiped images cab be used to create an impressionistic effect. The emphasis becomes the color or basic forms in the image – there is no sharp detail. This technique is very freeing at times and allows the photographer to express their impression of a scene without getting caught up in all the detail. Not sure who the first photographer was to do this on purpose;-) but I know Freeman Patterson talked about it early on; Tony Sweet taught me the technique while William Neil has created an entire body of work based on this technique, “Impressions of Light”.
Both the term pan and swipe get used when talking about camera movement techniques. Coming up with the right shutter speed and camera movement for a particular scene can be where the fun and skill come into play. You can go with a long shutter speed (1-2sec) and just pan back in forth (or up and down) or you can go with a shorter speeds (1/2-1/4 sec) and move in a pattern (swipes): circles, arches, diagonals, waves, etc.
A couple of hints:
1) Experiment a lot. This will give you a sense of what works with what. Have fun.
2) For a simple start try a 1/2 sec shutter speed on a grove of tree and pan up and down. Try shorter and longer speeds, slower and fast camera movement, longer and shorter movements.
3) If there are strong lines in the image – work with those by moving with them (up and down for a tree).
4) As always, you still need good subjects and composition.
A few examples are shown here in the blog.
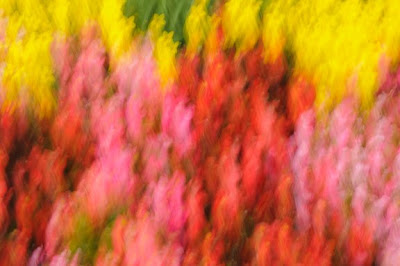
The lead image is a forest with yellow flowers that has been panned up and down for around 1 second.
The second image shows a bed of roses shot with a circular motion (1/3 second). I choose a circle in keeping with the roses. The diagonal line of the roses gives even more excitement to the image.
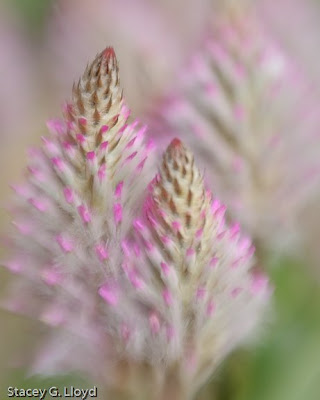
The third image is a flower bed swiped downward (1/3 sec). Notice the use of thirds in the composition.
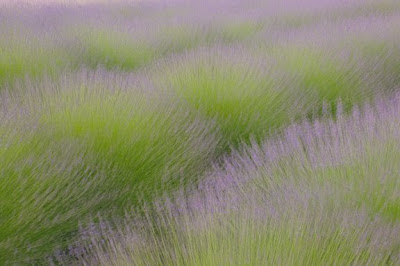
The forth image is swipe of tulip beds (1/2 sec) following the diagonal line of the beds.
And the fifth images shows a cup swipe of another rose bed (1/5 sec).


 But you can’t get real close to the subject. If instead you use your fingers to “push” the lens out and extend the corragated tube you can get closer and get a real shallow depth of field . With my 3G I push it to near maximum externsion and then lock it there. The images here in my blog were all shot that way.


