Category Archives: Uncategorized

Analysis and Creativity

Blog_20110720_1

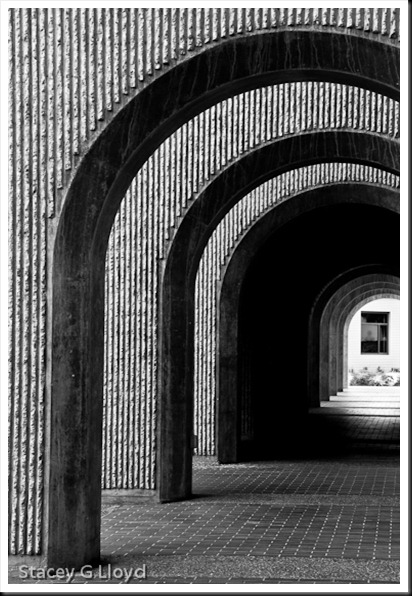
I once had a college professor state that “you must be able to analyze before you can create”. This was much to the chagrin of the young engineers who wanted to just design something new, not analyze an existing design. Applying this to art and photography it is essential if you want to grow as a photographer. You need to spend time viewing and analyzing artwork and photographic images to see why they work. Look at the use of color, the use of tone, the composition or placement of key elements, the shape of the frame, the quality and direction of the light, the implicit lines formed by the tonal transitions, etc. You can also ask yourself how does this image make you feel and why? Why did the artist/photographer use the perspective/lens he did? Take the time just to study one image. It can really be enlightening when you are analyzing well crafted images. In the end, this analysis prepares your mind and heart to creatively capture what your eyes and soul see.

Blog Image: Taken at Stanford University. 1.3sec at f22. Processed with Lightroom 3.0.

Simply Rocks – Analysis

Blog_20110718_1-6

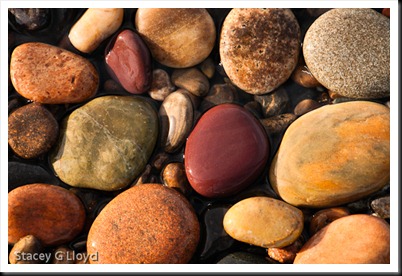
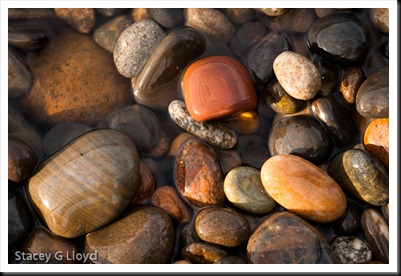
You would think photographing rocks would be simple, but sometimes things are not as simple as they appear. On the shore of the Columbia River a few weeks back I decided to shoot some images of the beautiful river rock along the shore (in Maryhill State Park).  Here are a few of the decisions or things I had to take into consideration.

  1. Is the composition pleasing? Finding something that really works can take a bit of searching. Sometimes you do some rearranging to get what you what, but doing that can be risky. The image can easily look too contrived or just not natural.
  2. Lighting? In this case it was early morning sunlight. I did try shading (my body)  and using a diffuser to modify the lighting. In the end I chose the low angle sunlight. I used a polarizer and varied the amount of polarization to get the look I wanted.
  3. I varied the shutter speed. There were small rippling waves coming in and that kept the rocks wet. Did I want to see motion or not in the image? I liked the images without water motion– 1/30sec.
  4. Which lens would be best? My 105mm macro or my 24-70mm zoom? I went with the macro.
  5. What aperture? While the rock surface was flat, I did need to make sure the closest and furthest rocks would be sharp. With a 105mm macro this was critical. I found f11 was sufficient.

During the post processing there was a whole different set of questions and decisions to be made. How much contrast? How much color saturation? Any white balance adjustments to be done? Cropping? Touch up? Vignette?

Blog_20110718_1-3

So that is why these “simply rocks” images are more than they appear.

Return to the Lavender

Blog_20110731_1-6

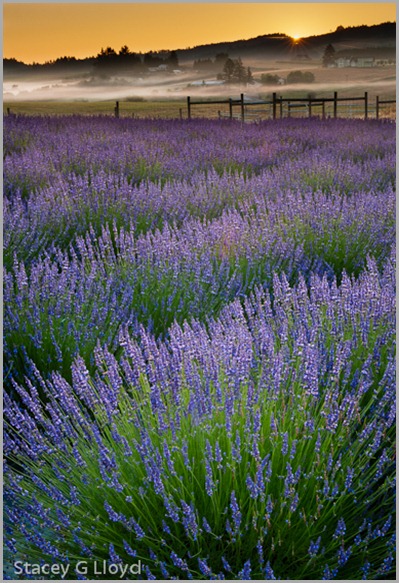
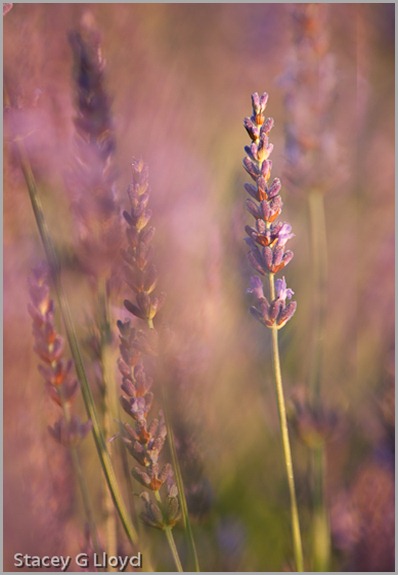
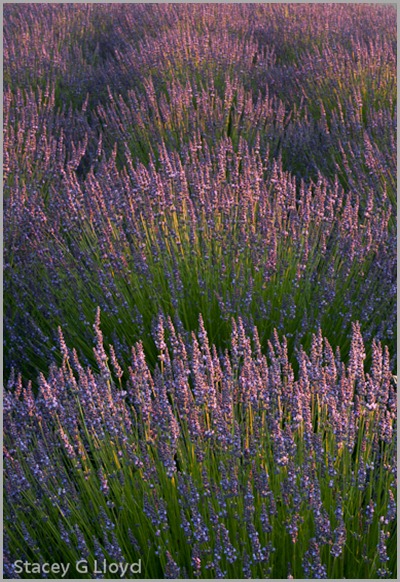
Another year has passed and the lavender returned. Due to other obligations in my life, I was not able to get out and capture much of the lavender this year. A couple of weekends ago, I got the chance to capture a field that was still in reasonable condition. It was at Willakenzie Lavender Farm in Yamhill Oregon. I got  out bright and early so I could catch the sunrise on the lavender. As I drove to my destination it was hard to resist all the possible images I saw along the way. There was nice ground fog hanging here and there along the beautiful valley, but I was determined to catch first light on the lavender. Here are a couple images from that morning.

Blog_20110731_1-9 


Blog_20110731_1-4

Blog images:

  1. This is an HDR image captured at sunrise. I didn’t quite get the sunburst I hoped for. The image was processed with Nik’s HDR Efx Pro with some additional processing in Lightroom.
  2. The second image taken shortly after sunrise was a “shoot through” were I used a long lens (70-200mm zoom at 190mm) to shoot through some lavender and focus on one lavender stem. Shooting flowers with a long lens is  not typically the first thing that comes to mind, but it can result in nice images. f6.3 at 1/160 sec.
  3. The last image captures the sunrise light just brushing the tops of the lavender. 70mm, f22, 0.5sec.
Also posted in HDR Photography

Beyond Sprinklers

Blog_20110720_1

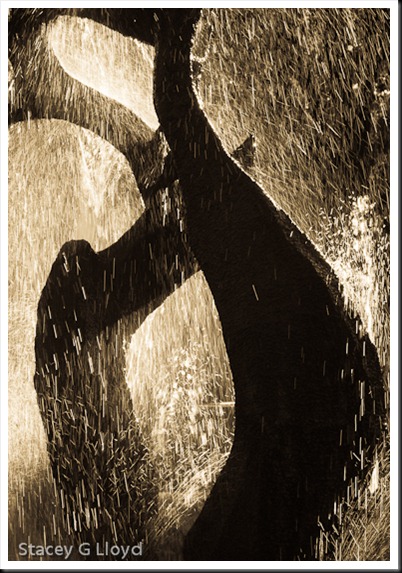
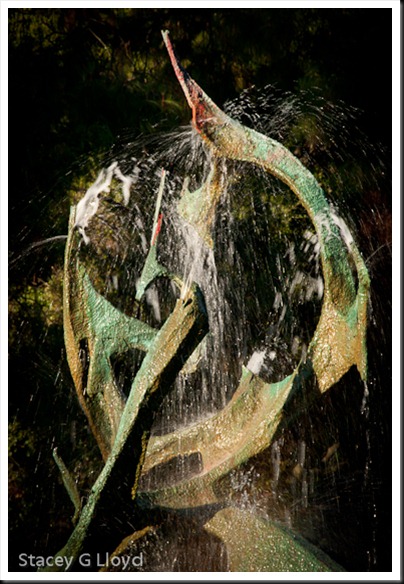
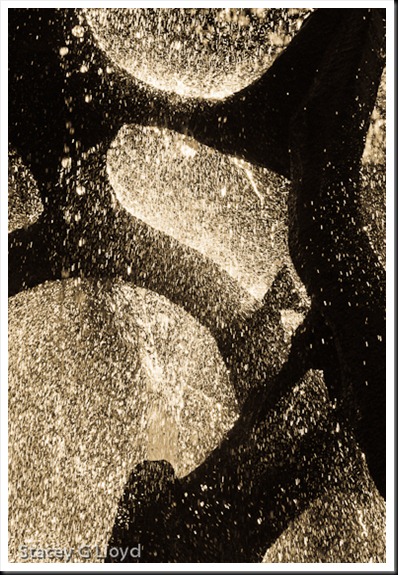
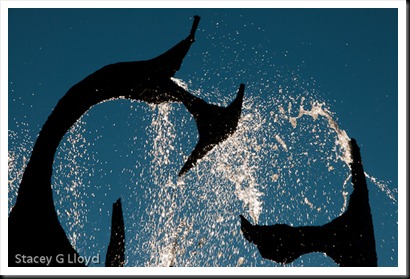
A couple of  blogs back I  wrote about shooting backlit flowers early one morning when the sprinklers were on. Then this past month I was roaming around the beautiful Stanford University campus late in the evening looking for images to capture. As I walked around the fountain sculpture shown below (the White Memorial Fountain created by Aristides "Aris" Demetrios) the sun moved back behind it creating a dazzling light show.

Blog_20110720_1-11

I couldn’t help but think of those flowers. Applying what I had learned from shooting them I was prepared to capture this set of images. This is why it is important to practice (I know you probably hate that word) your photographic skills at home and “along the way”. It prepares you for the future when you are at that far away photographic destination.

Blog_20110720_1-7

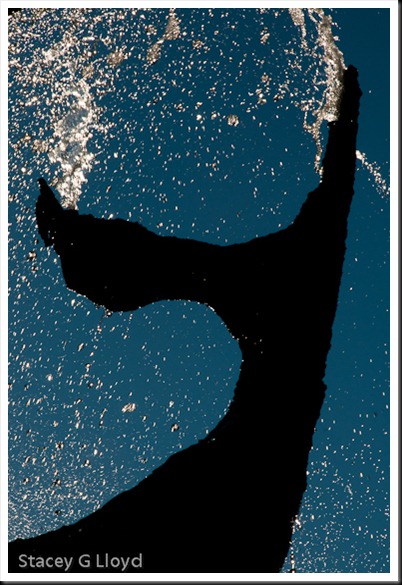
Besides capturing images from the side and taking advantage of the dark background, I also got down low and took advantage of the blue sky. I under exposed a bit to get the deep twilight sky look shown below.

Blog_20110720_1-9

The last image is one I call “The Mermaid’s Tale”.

Blog_20110720_1-12

Of all the image sets I shot at Stanford, these were the images that got me the most excited and made the creative juices flow. I am glad I was prepared.

Blog Image Notes: As with the flowers I generally had to adjust the EV to –1.- to –2.0 to handle the back light. I also shot with a range of shutter speeds to vary the shape of the falling water. The first image was at 1/80 sec and the last was at 1/800 sec. All images were processed using Lightroom 3 for tonality, etc.. The first two images used the Antique Light preset in Lightroom while the last two images kept the natural color.

After writing this blog I found this recent article about the fountain – http://news.stanford.edu/news/2011/june/claw-makeover-update-061011.html

All images of the sculpture have been used with the permission of the artist.

Exhibit Synopsis

Blog_20100225_1

Readers have asked about how my recent exhibit went and what I learned. Here is a summary.

  • The opening night was well attended. Approximately 200 visitors during the 2 hour window (this was on the high side for this gallery). I kept busy visiting, answering questions and describing my work. I enjoyed that very much.
  • On opening night I brought greeting cards and a selection of matted prints in addition to the larger framed exhibit prints. As expected the cards sold the best with matted prints next – no large print sales on the opening night.
  • The gift shop at the Arts Center liked the cards and small matted prints and so they put some on display. They still have a stock of the cards and prints on sale there. There have been some sales off and on.
  • In the end I sold 5 large (16×24 prints) as a result of the exhibit. Two of the five were the framed exhibit prints. Of those one sold to a friend and the other to a new business owner I had talked to a couple months before (she was going to need wall art for her new business). Three  of the prints (print only) were sold to a woman who saw the exhibit  while in town and she called me from Philadelphia to order them a couple weeks later (a pleasant surprise).
  • I was asked by some regional photo clubs to meet them at the exhibit so I could answer questions. This was another opportunity to get my name out there and get more exposure. I didn’t expect any sales necessarily, but I did bring cards, etc. This went well and talking about the techniques, etc. was fun.

Other notes:

Don’t assume people will just show up at your exhibit. You need to market the event to everyone you know plus some. I did quite a bit but I would do even more. Here is a summary of what I did.

  • Printed up 8×5 post cards that were sent directly to my friends, acquaintances, clients, etc.
  • Placed 3 x 5 cards (announcing the exhibit) of my own and from the gallery at places I visited, ate, worked, etc. Most small business owners were fine with placing them on the counters, etc.
  • Sent out email to the area photography clubs announcing the exhibit, etc. I did this a bit late. One of those obvious things that slipped my mind.
  • Prepared a press release and sent that to editors of three of the local papers. I was told to wait until 2 weeks before the exhibit (editors would ignore you until then), but that was bad advice. You should make contact at least four weeks before. If the paper wants to do a story on you and your art the editor needs to get you in the queue for a reporter to interview you.
  • This is a great opportunity for potential clients to see your work. The gallery lighting, your nicely framed prints, can all make a strong positive impact. It will look better than just an image on your website and lets the client see the quality of your work and presentation. 
  • Posted blog entries about the upcoming exhibit and put a notice on my website.
  • Mat and frame as professionally as possible. I received several compliments on the quality of the presentation. This all counts. You are not just looking to make money but establish your brand. Even if people don’t buy right then, they need to go away with a strong positive image of you and your work. You never know what opportunity they might bring your way later.

I hope this will answer some questions and be of use to any of you who are planning your own exhibit.

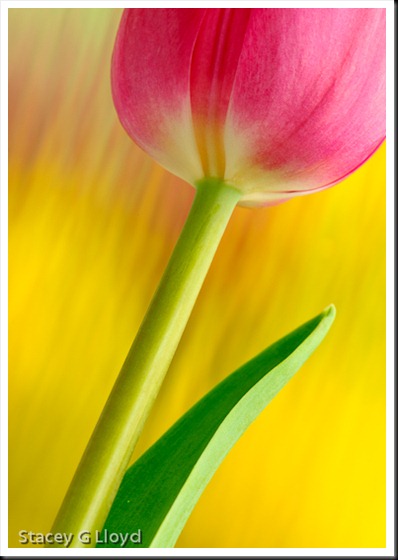
Blog Image: One of my early Floral Fusions (1.3 sec at f16).

Stonehenge

Blog_20110717_1

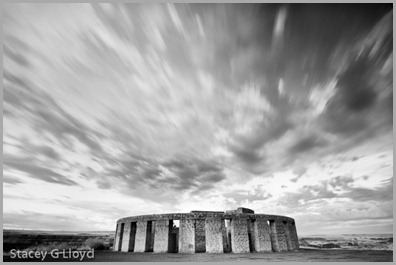
If you live in the NW and haven’t gotten by our own local Stonehenge you might want to take a look. It is off highway 14 near Maryhill (just east of The Dalles, Oregon) near the intersection with highway 97 in Washington state. It is a war memorial styled like Stonehenge – as it might have looked before its deterioration. It is a full scale replica made of concrete instead of carved stone, but it is a unique structure. It sits along the beautiful Columbia Gorge so the setting is quite nice. As a photographer there is a lot with which to work and play.

Blog_20110715_1

Blog images:

  1. Stonehenge has always had a bit of mystery so to add some mystique to the image I used a wide angle lens (12mm on a DX body => 18mm). In addition, I used a variable ND filter to get a long exposure set of HDR images. The HDR set was processed with Photomatix 4.0 using the ghost reduction feature. The image was then converted to B&W using SilverEfx Pro from Nik Software. A vignette was added along with some local adjustments using Nik Color Efx Pro and Photoshop.
  2. The second image was shot at sunset with the sun just breaking through the corner of one of the openings. A small aperture (f18) was used to get the sunburst. In this kind of shot you will get lens flare. All processing in this case was done in Lightroom 3.
Also posted in HDR Photography

Macro Fun

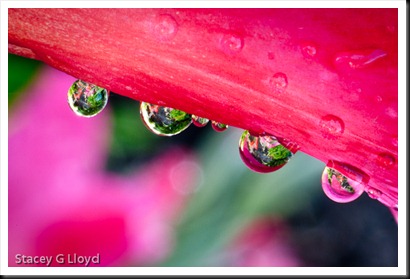
Blog_20110710_1-5 I love to get up early on a summer morning and explore the garden looking for new images. In my previous blog I captured images involving the garden sprinklers. This time I put on the macro lens (Nikon 105mm) and started exploring. Given the sprinklers had run earlier there were a lot of water droplets hanging on the flowers and foliage so I decided to focus on those.

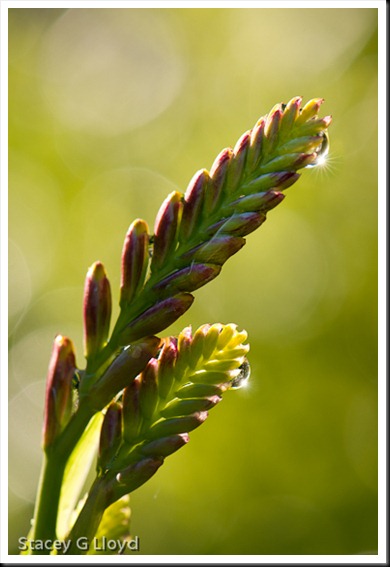
In the 1st image I saw a row of water droplets hanging along the edge of a gladiola. To get in close, I added a Canon 5T close-up lens and a 36mm extender.  I traded depth of field for some background detail. On a shot like this all the droplets have to be very sharp or else they distract from the rest. Set your camera up as parallel to the droplets as you can.

 Blog_20110710_1-2 

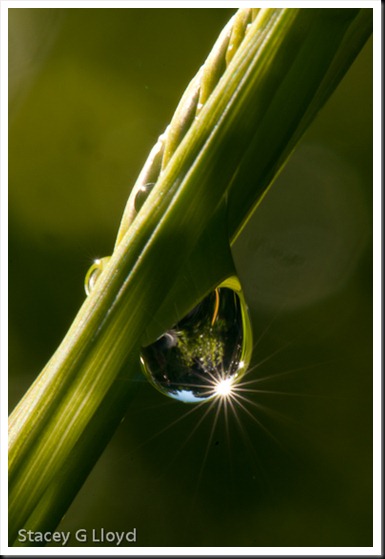
If you want to get a sunburst like the above you need to go with a small aperture (f51 in this case). The tradeoff is, of course, depth of field so you need to make sure the background material is far away and not too cluttered or else it distracts from the image. Also, note that changing your angle of view relative to the sun and water droplet can greatly impact the level of sunburst. Move you head up and down watching the water drop. Find the point where the sun seems brightest (you will see the difference once you hit that magic angle).

Blog_20110710_1-4

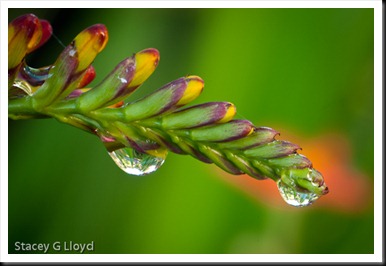
Finding nice background color when you can is always a great way to add pop. In the image above the background was all green which was nice, but I wanted a little more pop. I grabbed another red flower from the garden (I don’t recommend this unless it is your own garden) and held it at arms’ length (while I looked through the viewfinder) and moved it behind the area I wanted to emphasize. It took a few tries to get it, but I am happy with this one.

Blog_20110710_1

In this final image, I couldn’t get the sunburst without an aperture that resulted in a messy  background.  So I actually shot one with the background bokeh I wanted  (large aperture) and combined it with the small aperture shot using Photoshop. The result is the sunburst plus the nice background. It always pays to think outside the box you think you are in.

Happy Fourth of July

Blog_20110627_1

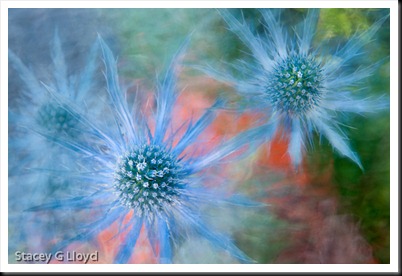
I thought I would share one of my latest “Floral Fusions” for the holiday. These blue star thistle blooms seemed appropriate for the 4th. This floral fusion is created using moving textured glass. One image was shot without the glass and the second was shot through the moving glass (0.4sec at f22). The images were captured in the garden, early in the morning, before the breezes started. To add a little punch behind the blue flowers I took an orange plastic bag that was handy and wrapped it around the base of the plant.  The two images were blended together in Photoshop using a layer mask and a brush. Contrast and local adjustments were done using Lightroom.

Have a happy fourth everyone!

Alcatraz Analysis

Blog_20110417_1-2

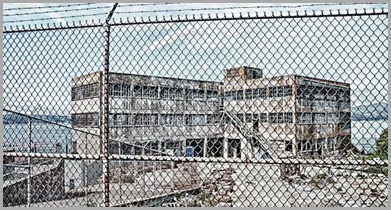
I thought I would take this shot from Alcatraz and walk you through what I was thinking about as I composed the shot and why I processed it the way I did.

The shoot: In some respects this shot was away from the main Alcatraz “attractions” but it caught my eye because of the barbed wired on top of the fence. I felt at the time shooting through the fence would convey the sense of imprisonment. Next I had to decide how to frame the image. I carefully chose where the fence supports were placed. The vertical post was aligned along the building corner and at around 1/3 of the frame space. This seemed to be the least intrusive way to include it. The lower horizontal was placed along the lower edge of the building for the same reason. Keeping the shot a bit wide helped add to a feeling of distance and separation. The prisoners clearly felt that 1.25 mile distance from San Francisco. Keeping the shot wide also let me include the barbed wire which I felt was important to the overall context.

Post processing: This was an HDR image processed with HDR Efx Pro. I did three primary things during the processing. One, desaturated the image to make it more dreary. Two, allowed the white balance to shift a bit to the blue side – prison seems more like a cool place than a warm one. Three, went with harsh contrast which makes the image a bit more edgy.l Prison is a harsh place.

Also posted in HDR Photography

Iris Fusion

Blog_20110604_1

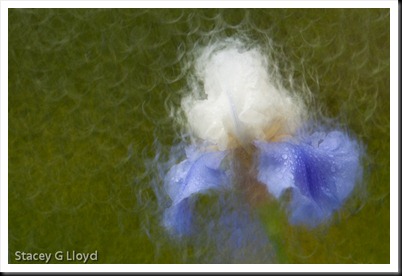
I am continuing to work on new floral fusion images; adding little differences from my original collection. I will be sharing some of those down the road. This image is just one small variant – flowers with water on them. This Iris was captured in my yard a couple weeks ago – early in the morning before the morning breezes kicked in. Other variations I am working on are white backgrounds with the image pushed to a hi-key look (somewhat over exposed and overall very bright – most pixels in the upper half of the histogram). More images will be done with only black background. Each of these variants will likely be group into small collections of their own.