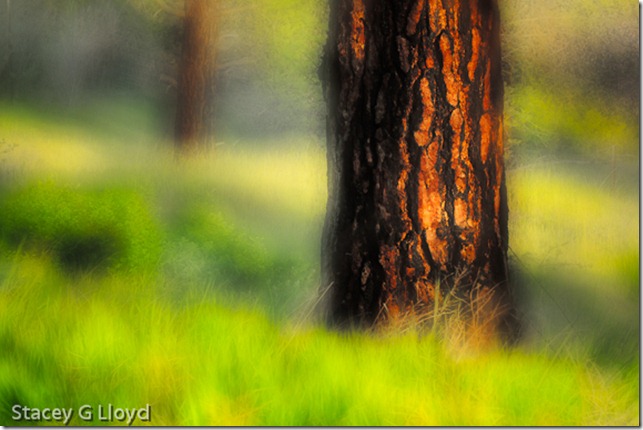
I am always looking for new ways to express my artist vision. Recently I decided to create a selective blend of an Orton style image with the original. An Orton image is typically a blend of a “straight” image with an out of focus version. The out of focus version can either be created using Photoshop (by applying a Gaussian blur) or in the field. I typically create the out of focus image in the field. When you do that you need to remember to open up the f-stop to minimize the depth of field, overexpose 1-2 stops and switch to manual focus so you can defocus the image. For more examples of the Orton Effect search my blog for “Orton”.
Note that while the technique adds a nice look, the image works well because of the nice morning light.
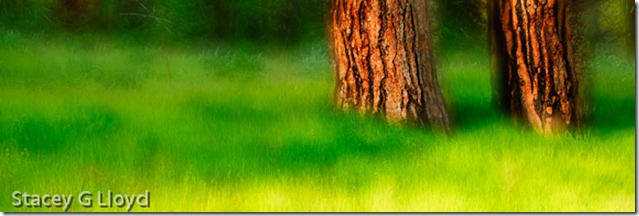
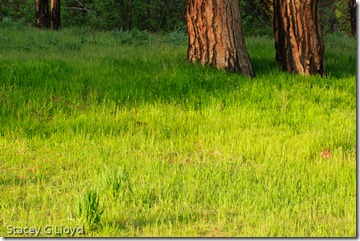
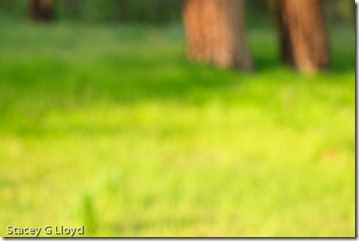
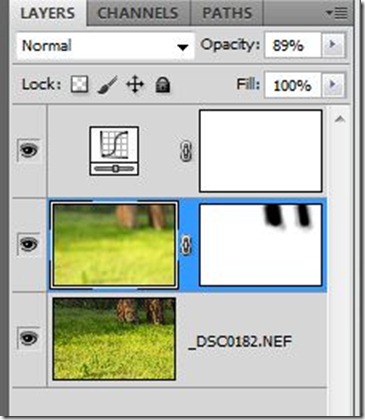
Above is another example of an image applying this technique. Below are the two source images along with the Photoshop layer stack.
This is the straight capture: f18 at 1/8sec.
Here is the out of focus capture: f2.8 at 1/125sec.If you don’t have this second image, you can create it in Photoshop by duplicating the original image, adding a Gaussian blur and applying a “Screen” using the “Apply image…” in the “Image” pull-down menu.
Notice a couple of things about the layer stack. First, the out of focus image is placed on top of the straight image and blended using normal mode – 89% in this case. Second, a mask layer was added and the tree trunks were masked using a brush whose density is less toward the edges (to better blend the images). Third a curve adjustment layer was added to improve the blacks, whites and the overall contrast.
Have fun.

