Monthly Archives: April 2012

Abstracts

Lloyd_Stacey_1Stair Shadow Play.jpgLloyd_Stacey_2Stairs on End.jpgLloyd_Stacey_3White Memorial Fountain 1.jpgLloyd_Stacey_4Ghosts in the Deep.jpgLloyd_Stacey_5White Memorial Fountain 2.jpg
Abstract photography is about capturing pattern, light, color and texture to create designs. The hand full of images shown here are a set of abstracts I recently entered into the PhotoPlace juried competition in Vermont. This time one of my images was selected for the online gallery and exhibit book (the White Fountain Memorial #1 image).

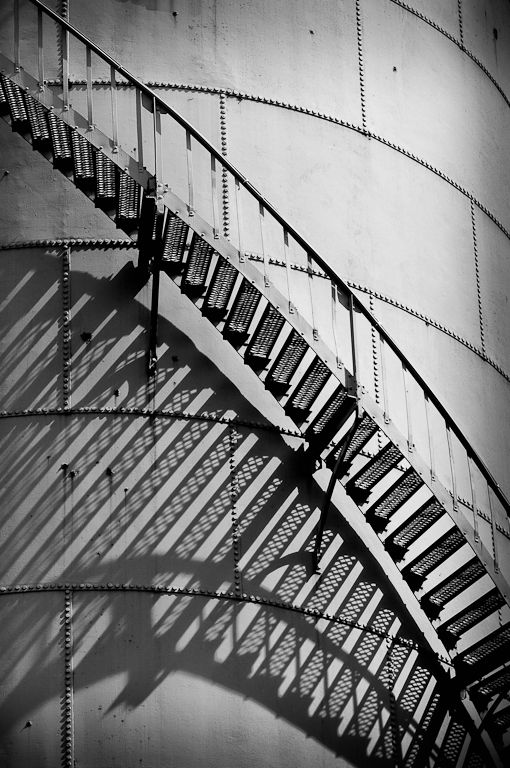
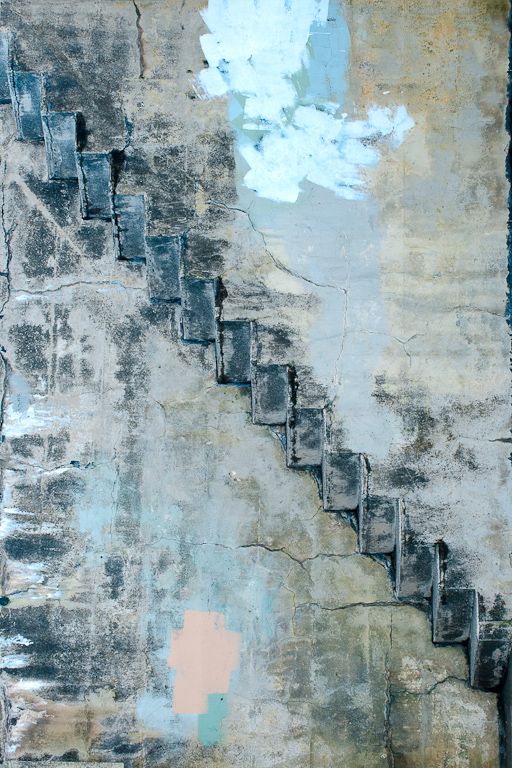
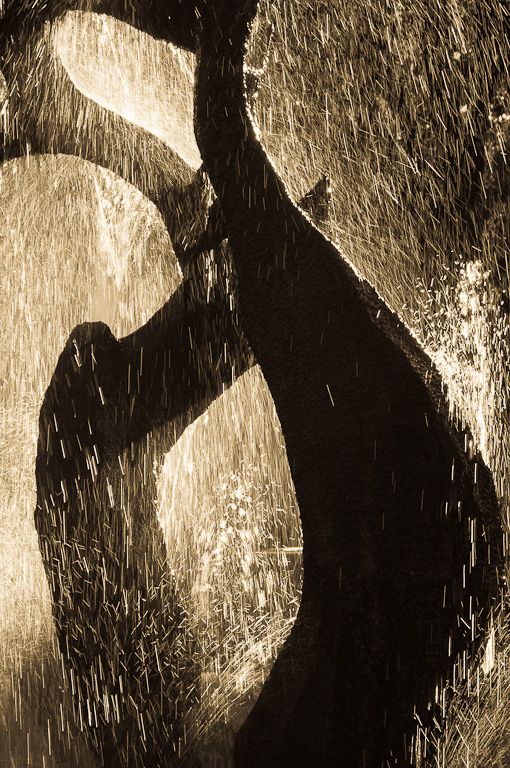
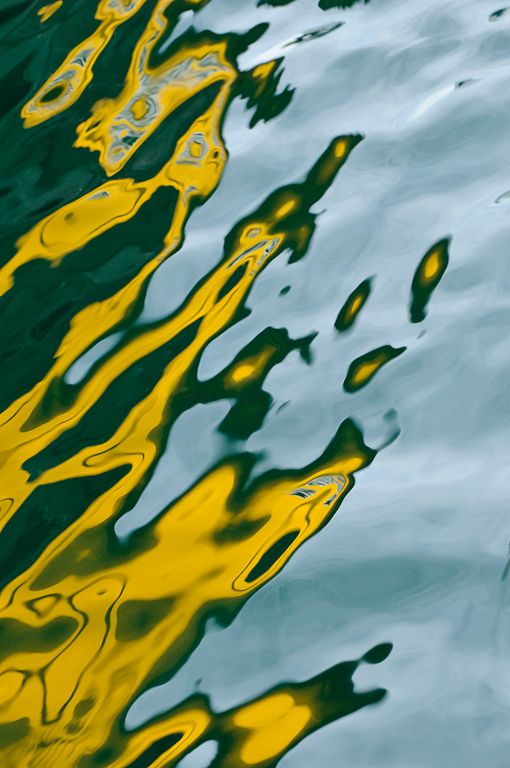
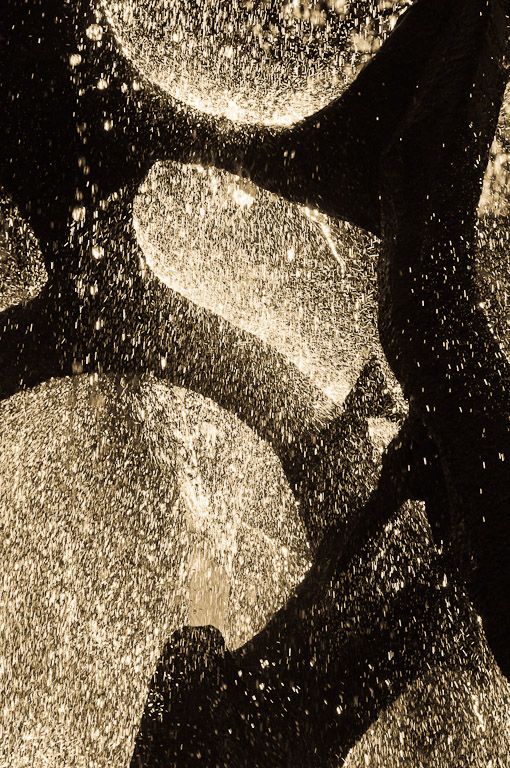
You can see additional images from the exhibit here. There is a very nice set of abstract images there and you may find many of them inspirational to creating your own abstracts.

If you would like to purchase one of the book compilations from this exhibit you can do so here when they become available ($24.95).

Posted in Composition

Rays of Sunshine?

Blog_20120404_3

I posted a Facebook entry recently where I applied a new iPad app called “Rays”. In this blog entry I will go a little more in depth and show how I applied Rays to another image in my catalog – the result is the lead blog image.

Walk Into the Light

The original image is on the left – before applying “Rays” . It is a B&W HDR image processed with Nik’s SilverEfx Pro. I selected it because it is a high contrast image with a strong white area; an area where it seems plausible for light rays to emanate.

I transferred this image to my iPad where I could apply the Rays app. Now the fun begins. The first thing you will want to do is slide the “Brightness” slider to the right until you can easily see the light rays. Next you will want to Blog_20120404_1place the point from which you want the light rays to radiate. In this image I placed the little round circle that denotes the light source in the upper left corner where the sun actually was when I captured the image.

I would suggest that next you try adjusting the “Threshold” slider. This slider determines the highlights from which the app will create rays – from just bright white areas to light shades of gray. Adjust until only the areas you want emanating rays are doing so.

Blog_20120404_2

After that try adjusting the “Length” slider. It does just what you would think – control the length of the light rays.

There are three other adjustments you can make to get the look you want: the “Ray Opacity” and “Source Opacity” sliders and the ray color selection box.

The 2nd image is the resulting image from  Rays. Notice however there is a problem. The rays are overlapping the large rocks in the lower right-center of the image. That area should be in shadow. To correct that I opened the new “Rays” image along with the original image in layers using the PhotoForge app. I was then able to paint a mask over the areas I didn’t want to see rays. The result is the third image. I made one more adjustment in Nik’s Snapseed on the iPad. I felt the face of the rock where the light was hitting was a bit too light. I added a selective control point and slightly reduced the brightness and increased the contrast to bring out the rays. The result is the top blog image.

I am looking into taking things a bit further by adding a little graduated fog using Nik’s ColorEfx Pro (back on my Mac). This might make the light rays seem even more plausible. With all the tools of the digital age, your imagination can explore all kinds of imagery. Have fun.


Posted in Uncategorized